
|
Do it yourself
| |||
| ||||


How to use the headlights on the Dacia Duster MK2
Model: Dacia Duster
HM, MK 2
- Years 2017-2024
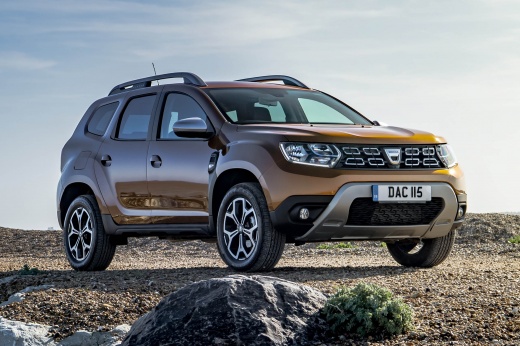
In this video, we can see how to use the headlights and flashers of the Dacia Duster MK2: the daytime running lights turn on automatically when the engine starts; the parking lights must be set by turning the ring on the lever to the corresponding symbol, depending on the type of trim. The low beams turn on automatically when the external light decreases, by turning the ring to "auto". The high beams only turn on if the low beams are already on, by pushing the control lever forward. The fog lights only turn on if the low beams are on, and the control is a small ring that needs to be rotated forward; it is rotated downward to turn on the rear fog light. It is possible to adjust the height of the low beam headlights if the car is heavily loaded, using the knob located at the bottom of the dashboard, on the driver's side. It is possible to engage the turn signal without pushing the lever completely: one press will make the indicator flash three times. The central button on the console turns on the hazard lights.
Posted on 13 November 2024 by ScegliAuto
Video tutorial
Related tutorials
Dacia Duster
(2017-2024 /
HM, MK 2)
In order to adjust the headlights of the Dacia Duster, you need to open the hood so that you can access the top part of both headlights: here you wil…

Dacia Duster
(2010-2017 /
HS, MK 1)
In this video, you can see how the author replaces the front headlight bulbs (H7 and H1) on a first-generation Dacia Duster. The YouTuber has chosen …

Dacia Duster
(2010-2017 /
HS, MK 1)
Are the front headlight bulbs on your Dacia Duster faulty? Follow the steps in this instructional video to proceed with the removal. Open the bonnet …
Other guides you may be interested in
|
How to Replace the Battery on a Honda Vision 110
To replace the battery on a Honda Vision 110, you need to remove the front fairing of the motorcycle, located directly under the front headlamp. To loosen this panel, unscrew the two screws found at its top, just below the handlebar. Once these screws are loosened, lever under the panel to detach it, gaining access to the battery underneath: this battery must be removed from its housing by unscrewing the fixing screws and disconnecting the power cables, replacing it with a new one. by ScegliAuto More videos
|
|
For advertising on this site Write to info@scegliauto.com
ScegliAuto is not responsible for any inaccuracy of the data in the lists. To report any inaccuracy or your business (if you own the business in question), please write to info@scegliauto.com
Number of seconds to generate the page: 0.429
(c) ScegliAuto 2026 - info@scegliauto.com - Privacy policy VAT number: IT01247470535 |
