
|
Do it yourself
| |||
| ||||


How to install a custom logo on the Dacia Duster
Model: Dacia Duster
P1310
- Years 2024-2026
On the Dacia Duster, installing a custom logo on the front grille requires careful cleaning, centering, and stable fastening. Work on a cold vehicle and in a clean area. If the original logo is attached with clips, detach it from inside the grille by manipulating the clips without forcing the tabs; if it is glued, gently heat it and lift it with a plastic spatula, removing any residue with isopropyl alcohol. Test fit the new logo dry, ensuring it sits flat and does not interfere with the tabs. If the kit includes double-sided tape, apply a thin layer of primer, place the double-sided tape on the entire surface of the logo, remove the protective film, and center it using a horizontal reference from the tabs; press for 30–60 seconds with even pressure. If the kit uses screws/clips, insert the pins into their slots, add any washers, and tighten from the inside without crushing the plastic. Avoid roller washes for the first 24 hours to allow the adhesive to cure. At the end of the job, check the alignment with the edge of the grille and the stability by pulling gently.
Posted on 20 December 2025 by ScegliAuto
Video tutorial
Related tutorials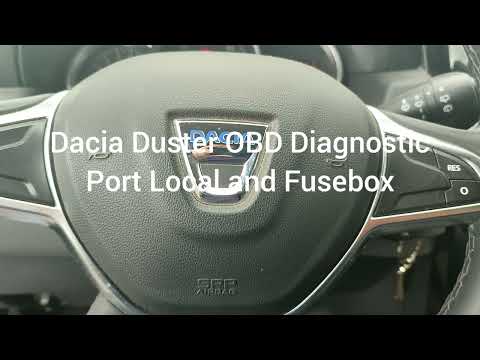
Dacia Duster
(2017-2024 /
HM, MK 2)
If you cannot find the fuse box inside your Dacia Duster, do not worry as this guide provides all the necessary instructions. Remember that when perf…

Dacia Duster
(2017-2024 /
HM, MK 2)
Below we will see the instructions that will allow us to install the armrest on the driver's seat of the Dacia Duster. First of all, we get on board …

Dacia Duster
(2017-2024 /
HM, MK 2)
To install the roof bars on the Dacia Duster, remove the small covers located on the longitudinal bars, which conceal the designated slots for the ro…
Other guides you may be interested in
|
How to Check the Oil Level on a Jeep Renegade?
To check the oil level on a Jeep Renegade, you need to open the bonnet to access the components inside the engine bay: on the lower left side of the engine block, you will find the dipstick for checking the level. This should be pulled out and thoroughly cleaned with a cloth: once cleaned, reinsert it back into its tube and pull it out immediately after. This way, you can check that the oil mark is between the minimum and maximum levels; finally, you can place the dipstick back in its tube. by ScegliAuto More videos
|

|
For advertising on this site Write to info@scegliauto.com
ScegliAuto is not responsible for any inaccuracy of the data in the lists. To report any inaccuracy or your business (if you own the business in question), please write to info@scegliauto.com
Number of seconds to generate the page: 0.149
(c) ScegliAuto 2026 - info@scegliauto.com - Privacy policy VAT number: IT01247470535 |
