
|
Do it yourself
| |||
| ||||


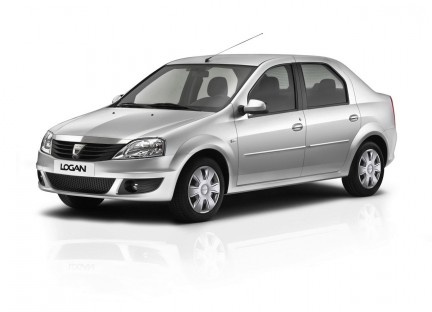
What Does the "Zigzag" Warning Light Mean on the Dacia Logan 1 Dashboard?
Model: Dacia Logan
MK 1
- Years:
2004, 2005, 2006, 2007, 2008, 2009, 2010, 2011, 2012
Video tutorial
On the Dacia Logan 1, the zigzag-shaped warning light, along with the engine light, usually indicates a problem with the EGR (Exhaust Gas Recirculation) system. If the car maintains normal power and performance, it is likely that the EGR valve is dirty or partially blocked, not completely faulty. The most economical solution is to clean the EGR valve with a suitable spray and a brush, removing carbon deposits. If cleaning does not resolve the issue, it may be necessary to replace the valve. Sometimes, even after replacement, the light may come back on: in this case, the culprit is often the EGR position sensor, which also needs replacing. Before any intervention, it is advisable to perform a diagnostic scan to confirm the error code (e.g., P0401, P0402). Regular maintenance of the EGR helps prevent the problem. Do not ignore the warning light: even if the car seems to be running well, the EGR system affects emissions and fuel consumption.
Posted on 7 July 2026 by ScegliAuto
Related tutorials
Dacia Logan
(2012-2022 /
MK 2)
Learn how to reset the service light on a Dacia Logan MCV without needing tools or a computer: the procedure is simple and uses a button on the dashb…

Dacia Logan
(2012-2022 /
MK 2)
If the tyre warning light on your Dacia Logan dashboard illuminates despite none of the tyres being flat or losing pressure, you must perform a manua…

Dacia Logan
(2012-2022 /
MK 2)
The tyre pressure warning light illuminates on Dacia vehicles when it is necessary to adjust the tyre pressures. Today, you will learn how to reset t…
Other guides you may be interested in
|
Frequently Asked QuestionsHow to Remove the Rear Seat of a Hyundai Tucson?
To remove the rear seat of a Hyundai Tucson, follow these steps. Start by moving the front seats to their most forward position to gain space. Next, locate the release lever on the underside of the rear seat, near the floor. Press this lever down while pulling the seat upwards to unlock it from the anchor pins. Once unlocked, tilt the seat upwards and forwards to remove it from its position. Repeat this process for both sides of the rear seat. Be careful of any electrical cables or components that may be connected to the seat during removal. Once the rear seat is removed, the disassembly is complete. by ScegliAuto More videos
|
|
For advertising on this site Write to info@scegliauto.com
ScegliAuto is not responsible for any inaccuracy of the data in the lists. To report any inaccuracy or your business (if you own the business in question), please write to info@scegliauto.com
Number of seconds to generate the page: 0.029
(c) ScegliAuto 2026 - info@scegliauto.com - Privacy policy VAT number: IT01247470535 |
