
|
Do it yourself
| |||
| ||||


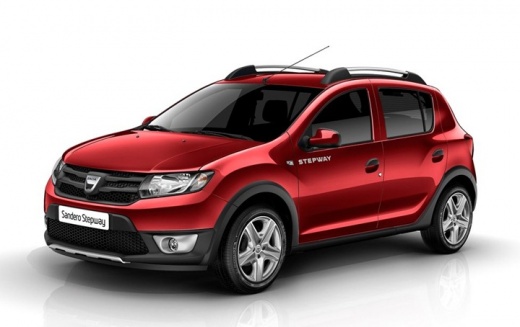
What is the fuse diagram for the Dacia Sandero?
Model: Dacia Sandero
B8
- Years:
2012, 2013, 2014, 2015, 2016, 2017, 2018, 2019, 2020
Video tutorial
The main fuse box of the vehicle is located on the left side of the dashboard on the side panel and is protected by a plastic cover. Below is the diagram: F1 Front electric windows 30A. F2 10A Left main beam. F3 Right main beam 10A. F4 10A Left dipped beam. F5 Right main beam 10A. F6 Rear lights 5A; instrument lighting; illumination. F7 Front lights 5A. F8 Rear electric windows 30A. F9 Rear fog light 7.5A. F10 15A Horn. F11 Central locking 20A. F12 3ABS / ESP. F13 Interior lighting 10A; Air conditioning. F14 Steering angle sensor 5A. F15 Windscreen washer 15A; Parking radar; reverse light. F16 Audio system 5A; heated windscreen; Speed limiter. F17 7.5A DHO. F18 Stop light 7.5A. F19 Control system 5A. F20 Airbag 5A. F21 Spare. F22 Spare. F23 Spare. F24 Indicator 15A. F25 Alarm system 10A. F26 Electric control unit 15A. F27 Steering column switches 20A (dipped beam input). F28 Spare. F29 Steering column switches 25A (main beam input). F30 Spare. F31 Instrument cluster 10A. F32 Audio system 7.5A. F33 Cigarette lighter 15A. F34 Diagnostic connector 15A. F35 Heated exterior mirrors 5A. F36 Side mirror actuator 5A. F37 Starter 30A. F38 Mat 30A. F39 Air conditioning 40A. R1 Air conditioning relay 35A. R2 35A Heated rear window relay.
Updated on 19 May 2026 by ScegliAuto
Related tutorials
Dacia Sandero
(2008-2012 /
BS)
Typically, the fuse diagram for any car, including the Dacia Sandero, can be found in the owner's manual provided at the time of purchase, which incl…

Dacia Sandero
(2012-2020 /
B8)
We will briefly look at the fuse diagram and layout for the Dacia Sandero by following these simple steps. First, open the driver's side front door a…

Dacia Sandero
(2021-2026 /
MK 3)
In this article, you will see the fuse diagram and the location of the fuse box for the Dacia Sandero 3, supported by the tutorial video below. By wa…
Other guides you may be interested in
|
How to Remove the Rear Seat of a Hyundai Tucson?
To remove the rear seat of a Hyundai Tucson, follow these steps. Start by moving the front seats to their most forward position to gain space. Next, locate the release lever on the underside of the rear seat, near the floor. Press this lever down while pulling the seat upwards to unlock it from the anchor pins. Once unlocked, tilt the seat upwards and forwards to remove it from its position. Repeat this process for both sides of the rear seat. Be careful of any electrical cables or components that may be connected to the seat during removal. Once the rear seat is removed, the disassembly is complete. by ScegliAuto More videos
|
|
For advertising on this site Write to info@scegliauto.com
ScegliAuto is not responsible for any inaccuracy of the data in the lists. To report any inaccuracy or your business (if you own the business in question), please write to info@scegliauto.com
Number of seconds to generate the page: 0.124
(c) ScegliAuto 2026 - info@scegliauto.com - Privacy policy VAT number: IT01247470535 |
