
|
Do it yourself
| |||
| ||||


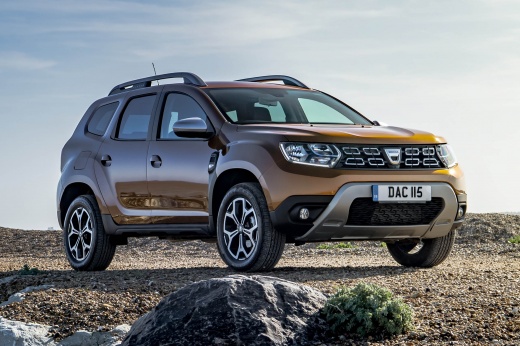
What to Do When the Oil Warning Light Comes On in a Dacia Duster?
Model: Dacia Duster
MK 2, HM
- Years:
2017, 2018, 2019, 2020, 2021, 2022, 2023, 2024
Video tutorial
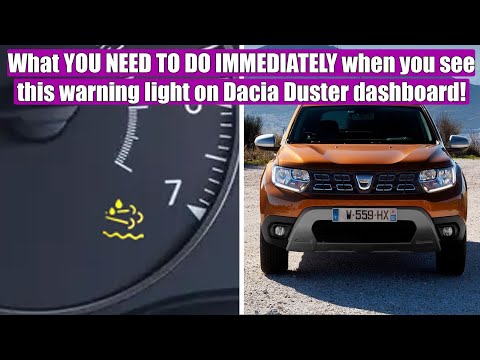
What happens in my engine when the oil warning light comes on? First, let's look at the purpose of the lubricating oil: we all know that lubricating oil reduces friction between moving parts and also lowers temperature, but the lubricant is also used in areas where there is no direct contact between surfaces, such as on the crankshaft, where the oil itself acts as an anti-friction component by forming a very thin film that prevents seizure and allows the components to move, effectively replacing the bearings. Therefore, it is clear that a fundamental aspect for the longevity of the engine is the oil pressure, and the oil warning light indicates variations in this pressure. Indeed, there is a sensor in the oil circuit that measures the oil pressure. So when the light comes on, it means that the pressure has dropped due to problems with the pump or due to oil leaks, so in this case, it is essential to stop immediately to avoid serious engine damage.
Updated on 4 July 2026 by ScegliAuto
Related tutorials
Dacia Duster
(2017-2024 /
MK 2, HM)
How to reset the maintenance light when it comes on in a Dacia Duster? The maintenance light indicates when a service is due after a certain distance…

Dacia Duster
(2017-2024 /
MK 2, HM)
In this video we see how to behave when the AdBlue symbol appears on the dashboard of our Dacia Duster: at first this light is yellow, and it means t…
Dacia Duster
(2017-2024 /
MK 2, HM)
In this video tutorial, you will see how to reset the AdBlue warning light on a Dacia Duster by following a few simple steps. Usually, the AdBlue lig…
Other guides you may be interested in
|
How to Set the Date and Time on the Iveco Daily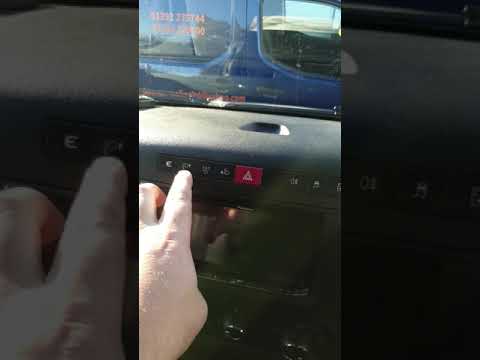
Today, we will see in this video tutorial how to change the date and time on the Iveco Daily. First, get into the vehicle and turn on the instrument panel; then go to the vehicle settings on the central display, pressing the relevant option for date and time. At this point, press the "set" button located at the top, using the physical arrow buttons to set both the date and time; finally, exit the onboard computer menu to save the changes made! by ScegliAuto More videos
|
|
For advertising on this site Write to info@scegliauto.com
ScegliAuto is not responsible for any inaccuracy of the data in the lists. To report any inaccuracy or your business (if you own the business in question), please write to info@scegliauto.com
Number of seconds to generate the page: 0.030
(c) ScegliAuto 2026 - info@scegliauto.com - Privacy policy VAT number: IT01247470535 |
