
|
Do it yourself
| |||
| ||||


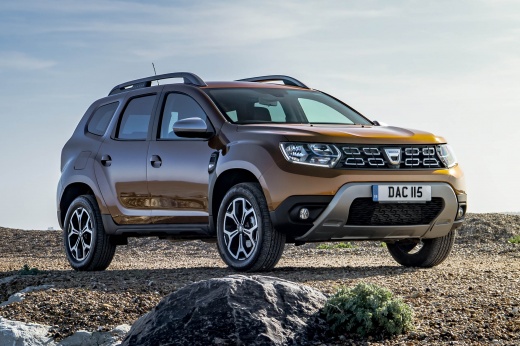
Replacement of the water pump on a Dacia Duster.
Model: Dacia Duster
HM, MK 2
- Years:
2017, 2018, 2019, 2020, 2021, 2022, 2023, 2024
This video is currently unavailable
In this video, we will see how to replace the water pump on a Dacia Duster: in this case, it has lost all the coolant; however, the engine was not damaged because it did not overheat. We need to lift the vehicle: the pump is located near the front right wheel, so we need to remove the wheel and the wheel arch liner, which allows us to easily access the component. We should prepare a container to hold the residual coolant that will inevitably be lost; we remove the serpentine belt and the tensioner pulley, and then we take out the pump that has actually failed. We then replace the tensioner roller and the pump, and then position the new serpentine belt. Now we need to refill the cooling system with the fluid recommended by the manufacturer.
Posted on 25 December 2025 by ScegliAuto
Related tutorials
Dacia Duster
(2010-2017 /
MK 1, HS)
Here are the main steps to remove and replace the timing belt on the Dacia Duster 1.5 dCi. First, raise the vehicle and remove the front right wheel …

Dacia Duster
(2010-2017 /
MK 1, HS)
The "VIN" code on a Dacia Duster is available on a label located inside the vehicle's cabin, specifically on the side of the door opening. To view th…

Dacia Duster
(2010-2017 /
MK 1, HS)
Lift the car on a column lift and remove the undertray located beneath the vehicle. Then, using a screwdriver, unscrew the screws of the right wheel …
Other guides you may be interested in
|
How to Remove the Rear Seat of a Hyundai Tucson?
To remove the rear seat of a Hyundai Tucson, follow these steps. Start by moving the front seats to their most forward position to gain space. Next, locate the release lever on the underside of the rear seat, near the floor. Press this lever down while pulling the seat upwards to unlock it from the anchor pins. Once unlocked, tilt the seat upwards and forwards to remove it from its position. Repeat this process for both sides of the rear seat. Be careful of any electrical cables or components that may be connected to the seat during removal. Once the rear seat is removed, the disassembly is complete. by ScegliAuto More videos
|
|
For advertising on this site Write to info@scegliauto.com
ScegliAuto is not responsible for any inaccuracy of the data in the lists. To report any inaccuracy or your business (if you own the business in question), please write to info@scegliauto.com
Number of seconds to generate the page: 0.036
(c) ScegliAuto 2026 - info@scegliauto.com - Privacy policy VAT number: IT01247470535 |
