
|
Do it yourself
| |||
| ||||


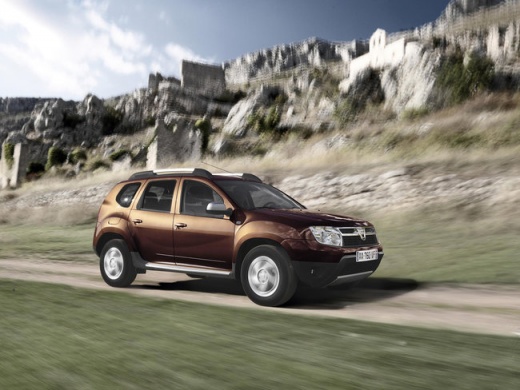
How to Install a Removable Dog Guard in the Dacia Duster
Model: Dacia Duster
MK 1, HS
- Years:
2010, 2011, 2012, 2013, 2014, 2015, 2016, 2017
Video tutorial
The Dacia Duster is the ideal vehicle, with its large boot for transporting even larger dogs. However, it is necessary to install a separation grille. First, remove the parcel shelf. The dog guard shown in the video can be found on lzparts and costs £166.80; we also recommend the EasyFlex rubber boot protector for £128.00, which is very useful with a dog: this way, you can have everything delivered at once, as shipping costs are separate. The installation is really easy: push the grille in and lift it up, then secure it with the appropriate supports, as shown in the video. It must be secured on both sides; once the seats are raised, you have created a protected area for your dog, which is absolutely robust.
Updated on 20 July 2026 by ScegliAuto
Related tutorials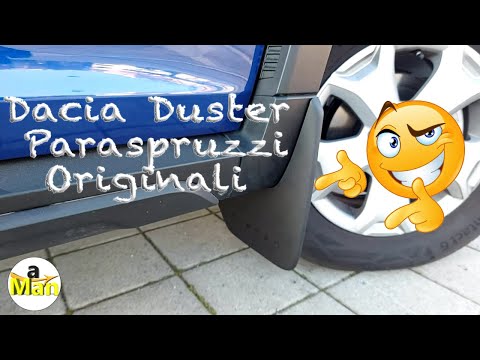
Dacia Duster
(2017-2024 /
HM, MK 2)
Learn how to fit mud flaps on the Dacia Duster: as the YouTuber rightly points out, the Duster's wheels are large and somewhat exposed, so when there…

Dacia Duster
(2017-2024 /
HM, MK 2)
Here’s how to replace the front speakers without removing the panel: insert a plastic lever into the attachment points of the grille and pry it off. …
Dacia Duster
(2010-2017 /
MK 1, HS)
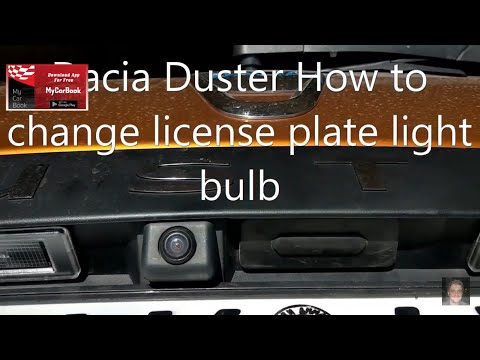
Before starting, exit the cabin of your Dacia Duster and head to the tailgate. Begin by disengaging and removing the number plate light housing. Next…
Other guides you may be interested in
|
How to Remove the Rear Seat of a Hyundai Tucson?
To remove the rear seat of a Hyundai Tucson, follow these steps. Start by moving the front seats to their most forward position to gain space. Next, locate the release lever on the underside of the rear seat, near the floor. Press this lever down while pulling the seat upwards to unlock it from the anchor pins. Once unlocked, tilt the seat upwards and forwards to remove it from its position. Repeat this process for both sides of the rear seat. Be careful of any electrical cables or components that may be connected to the seat during removal. Once the rear seat is removed, the disassembly is complete. by ScegliAuto More videos
|
|
For advertising on this site Write to info@scegliauto.com
ScegliAuto is not responsible for any inaccuracy of the data in the lists. To report any inaccuracy or your business (if you own the business in question), please write to info@scegliauto.com
Number of seconds to generate the page: 0.024
(c) ScegliAuto 2026 - info@scegliauto.com - Privacy policy VAT number: IT01247470535 |
