
|
Do it yourself
| |||
| ||||


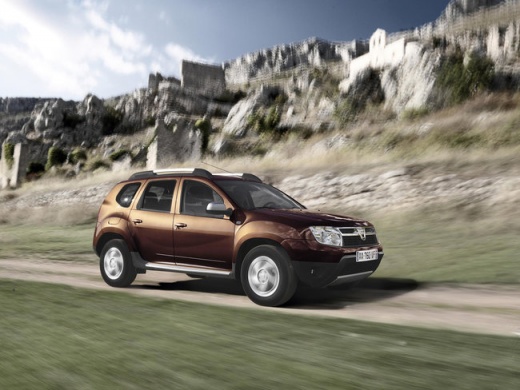
How to Service the Dacia Duster
Model: Dacia Duster
MK 1, HS
- Years:
2010, 2011, 2012, 2013, 2014, 2015, 2016, 2017
Video tutorial
Here is a general guide on how to perform a service on the Dacia Duster. Please note that specific details may vary between different models and production years of the Dacia Duster, so ensure you consult the owner's manual or contact a qualified mechanic for your vehicle's specifications. Materials and tools required: New engine oil, New oil filter, New air filter, New fuel filter (if applicable), New cabin filter (if applicable), Oil filter spanner, Spanners to remove filters, Used oil collection tray, Jack or lift to raise the car, Basic tools and spanners. Check the owner's manual for the recommended mileage or time interval for servicing your Dacia Duster. Typically, services are performed every 6,000-9,000 miles or annually, whichever comes first. Raise the car using a jack or lift in a safe and stable area. Ensure you follow appropriate safety instructions for properly lifting the car. Locate the oil drain plug on the engine oil sump and position the used oil collection tray underneath it. Remove the oil drain plug and allow the used oil to drain completely. Remove the oil filter using the appropriate spanner. Ensure you have the used oil collection tray ready as oil may spill when removing the filter. Clean the mounting surface of the new oil filter and apply a thin layer of new oil to the filter seal. Install the new oil filter by hand and secure it tightly following the instructions on the filter itself. Using an appropriate spanner, unscrew and remove the old air filter. Clean it or replace it with a new air filter. If your Dacia Duster is equipped with a fuel filter, remove it and replace it with a new fuel filter. If your Dacia Duster has a cabin filter, locate it and replace it with a new cabin filter. Refit the oil drain plug and secure it tightly. Do not overtighten. Add new engine oil through the oil filler cap. Refer to the owner's manual for the correct oil specification and capacity. Add the oil gradually and check the oil level with the dipstick to ensure you reach the correct level. Securely refit the oil filler cap. Lower the car slowly and carefully from the lift or remove the jack. Start the engine and check for any oil leaks. Also, check the oil pressure indicator to ensure the pressure is stable. Take a short test drive to ensure everything is functioning correctly and there are no obvious issues.
Updated on 14 September 2026 by ScegliAuto
Related tutorials
Dacia Duster
(2017-2024 /
HM, MK 2)
How to reset the maintenance light when it comes on in a Dacia Duster? The maintenance light indicates when a service is due after a certain distance…

Dacia Duster
(2017-2024 /
HM, MK 2)
Updating the mileage for the next service on a Dacia Duster produced from 2017 onwards is a simple and quick procedure. First, you must perform the s…
Dacia Duster
(2010-2017 /
MK 1, HS)
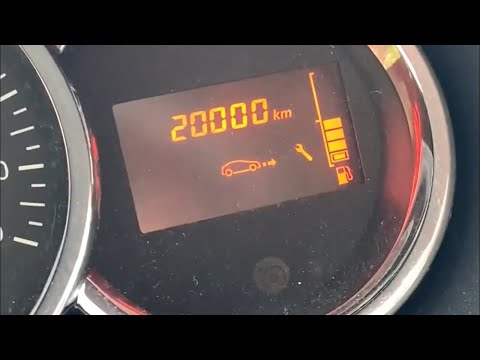
Before you can start, sit in the driver's seat of your Dacia Duster. Begin by activating the instrument cluster by simply turning the key in the igni…
Other guides you may be interested in
|
Frequently Asked QuestionsHow to Reset the Tire Pressure Light on a MG ZS?
On the instrument cluster of the MG ZS, the tire pressure light that appears can be reset by inflating the tires to the correct pressure: this value will be indicated on the sticker attached to the driver's door pillar. Once the tires have been properly inflated, you can turn on the instrument cluster and navigate through the menu until you find the option that indicates tire pressure: if this screen shows the new values, the light will turn off; otherwise, you will need to drive for a few miles so that the sensors can read the new values and turn off the light afterward. by ScegliAuto More videos
|
|
For advertising on this site Write to info@scegliauto.com
ScegliAuto is not responsible for any inaccuracy of the data in the lists. To report any inaccuracy or your business (if you own the business in question), please write to info@scegliauto.com
Number of seconds to generate the page: 0.095
(c) ScegliAuto 2026 - info@scegliauto.com - Privacy policy VAT number: IT01247470535 |
