
|
Do it yourself
| |||
| ||||


How to dismantle the radio and air vents on the Fiat Panda.
Model: Fiat Panda
169, MK 2
- Years 2003-2012
In this video, we will see how to remove the air vents and the car radio from the dashboard of the Fiat Panda. The vents can easily break, so they need to be replaced, but to remove them, it is necessary to first take out the radio, because there is a screw underneath the vents that holds the entire assembly in place. Let's see how to do it: we will need some keys to pull out the radio, which can be found, for example, on E-Bay with the code 226122176640, priced at 6.90 for the pair, plus 7.00 euros for shipping. Just insert the keys into the holes and pull, and the radio will come out. There is no need to disconnect the connectors; just place it in a safe spot. We will only need to unscrew the T25 screw that secures the vents from underneath. This is not the easiest operation, as a screwdriver won't fit; we will have to do it with a ratchet, but once this screw is removed, the vent assembly comes out easily. To restore the functionality of the vents, we just need to reattach the levers that have simply come loose. Then we put them back in their place.
Posted on 17 December 2025 by ScegliAuto
Video tutorial
Related tutorials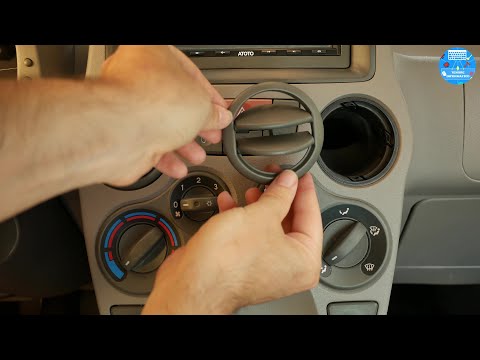
Fiat Panda
(2003-2012 /
169, MK 2)
Want to remove the air vents from a Fiat Panda? Let's see how to remove the vents without damaging the dashboard plastics. Enter the Panda vehicle, l…
Fiat Panda
(2003-2012 /
169, MK 2)
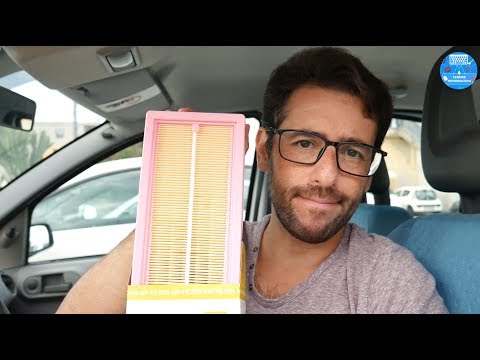
Before starting, open the bonnet of your Fiat Panda to gain access to the engine bay. Begin by unfastening the securing clips of the air filter cover…
Fiat Panda
(2003-2012 /
169, MK 2)
Before you can start, open the bonnet of your Fiat Panda to access the engine bay. Begin by unfastening the clips that secure the air filter cover. T…
Other guides you may be interested in
|
How to Replace the Battery on a Honda Vision 110
To replace the battery on a Honda Vision 110, you need to remove the front fairing of the motorcycle, located directly under the front headlamp. To loosen this panel, unscrew the two screws found at its top, just below the handlebar. Once these screws are loosened, lever under the panel to detach it, gaining access to the battery underneath: this battery must be removed from its housing by unscrewing the fixing screws and disconnecting the power cables, replacing it with a new one. by ScegliAuto More videos
|

|
For advertising on this site Write to info@scegliauto.com
ScegliAuto is not responsible for any inaccuracy of the data in the lists. To report any inaccuracy or your business (if you own the business in question), please write to info@scegliauto.com
Number of seconds to generate the page: 0.131
(c) ScegliAuto 2026 - info@scegliauto.com - Privacy policy VAT number: IT01247470535 |
