
|
Do it yourself
| |||
| ||||


How to Check the Wear of Brake Pads
Model: Fiat Panda
169, MK 2
- Years 2003-2012
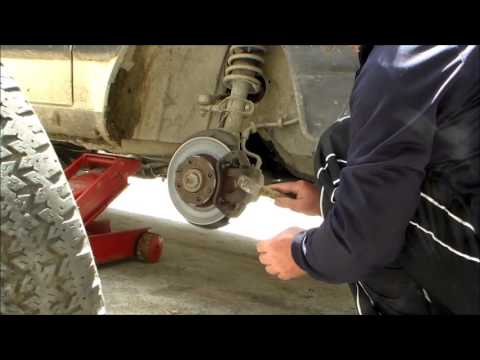
In this video, you will see how to check the wear of the brake pads: this component consists of a metal backing covered by a friction material that acts on the brake disc via the caliper. To check the condition of the pads, you must lift the front axle of the vehicle (the pads are always mounted on the front axle). Then remove the wheel, and you will see that the pads come into contact with the disc thanks to the brake caliper, which is secured with pins. Inside, there is the friction material, which must never wear down completely, as contact between the metal part and the disc would irreparably damage it. Once you have replaced the pads, you can refit the wheel and lower the vehicle. The wear of the pads is determined by both the material they are made of and the driving style, as prolonged braking tends to wear the pad material quickly. If the pads start squeaking, unfortunately, they need to be replaced, as this indicates that the friction material no longer provides adequate braking.
Posted on 12 February 2026 by ScegliAuto
Video tutorial
Related tutorials
Fiat Panda
(1980-2003 /
141, MK 1)
For various reasons, you may need to remove the brake calipers. This need can arise from simply changing the brake pads to replacing the brake hose o…
Fiat Panda
(1980-2003 /
141, MK 1)
Remove the worn front brake pads from the brake disc on a Fiat Panda. Lift the car on a jack to the desired height, then remove the wheel (using a so…

Fiat Panda
(2003-2012 /
169, MK 2)
Let's look at replacing the brake disc and associated pads on a Fiat Panda. Lift the car to a comfortable working height, unscrew the bolts with a so…
Other guides you may be interested in
|
Frequently Asked QuestionsHow to Open the Bonnet on the Lancia Y
To open the bonnet on this vehicle, follow these simple instructions: first, open the driver's door and locate the lever positioned just below the dashboard, marked with an image of the vehicle with the bonnet open. Pull this lever towards you until you hear a "click" indicating the bonnet is released. Next, exit the cabin and stand in front of the bonnet to disengage the safety catch and complete the opening. To do this, slightly lift the bonnet, locate the yellow lever underneath, and pull it to the left to fully release and open the bonnet. by ScegliAuto More videos
|

|
For advertising on this site Write to info@scegliauto.com
ScegliAuto is not responsible for any inaccuracy of the data in the lists. To report any inaccuracy or your business (if you own the business in question), please write to info@scegliauto.com
Number of seconds to generate the page: 0.603
(c) ScegliAuto 2026 - info@scegliauto.com - Privacy policy VAT number: IT01247470535 |
