
|
Do it yourself
| |||
| ||||


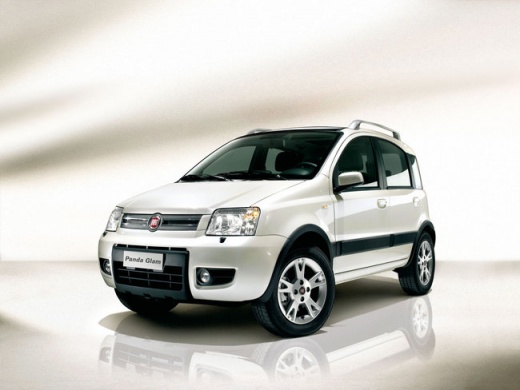
Replacing Spark Plugs on Fiat Panda 1.2 8v (169)
Model: Fiat Panda
169, MK 2
- Years:
2003, 2004, 2005, 2006, 2007, 2008, 2009, 2010, 2011, 2012
Video tutorial
Required tools: suitable thermal grade and pitch spark plugs for the vehicle, spark plug socket, feeler gauge, torque wrench. First, check the electrode gap specified by the spark plug manufacturer using a feeler gauge. Disconnect the spark plug leads, unscrew the spark plugs with the socket and insert the new spark plugs, ideally applying a thin layer of oil on the threads, inserting them carefully (tighten by hand) and then use the torque wrench to ensure the correct tightening torque (as indicated by the vehicle manufacturer). Reposition the leads ensuring they make a secure contact with the spark plug. Start the vehicle for a test and check that the engine does not stall or exhibit misfires or hesitation.
Updated on 20 March 2026 by ScegliAuto
Related tutorials
Fiat Panda
(2003-2012 /
169, MK 2)
How to proceed with replacing the spark plugs on the Fiat Panda 169? First, open the bonnet of the engine compartment. Prepare everything necessary f…

Fiat Panda
(2003-2012 /
169, MK 2)
In today's tutorial, you will learn how to remove and replace the engine spark plugs on a Fiat Panda 169 1.2 Petrol in simple steps. First, open the …

Fiat Panda
(2003-2012 /
169, MK 2)
To replace the spark plugs in a Fiat Panda, open the bonnet to detach the plastic cover on top of the engine block. At the front, you will find the c…
Other guides you may be interested in
|
How to Remove the Rear Seat of a Hyundai Tucson?
To remove the rear seat of a Hyundai Tucson, follow these steps. Start by moving the front seats to their most forward position to gain space. Next, locate the release lever on the underside of the rear seat, near the floor. Press this lever down while pulling the seat upwards to unlock it from the anchor pins. Once unlocked, tilt the seat upwards and forwards to remove it from its position. Repeat this process for both sides of the rear seat. Be careful of any electrical cables or components that may be connected to the seat during removal. Once the rear seat is removed, the disassembly is complete. by ScegliAuto More videos
|
|
For advertising on this site Write to info@scegliauto.com
ScegliAuto is not responsible for any inaccuracy of the data in the lists. To report any inaccuracy or your business (if you own the business in question), please write to info@scegliauto.com
Number of seconds to generate the page: 0.034
(c) ScegliAuto 2026 - info@scegliauto.com - Privacy policy VAT number: IT01247470535 |
