
|
Do it yourself
| |||
| ||||


How to Clean the Carburettor of a Fiat
Model: Fiat 126
MK 1
- Years 1972-1991
When a vehicle remains stationary for a long time, it is likely that deposits may form in the carburettor. Therefore, before attempting to start the engine, it is always advisable to clean the carburettor; for the Fiat 126, the operation is extremely simple. Start by removing the cover of the air filter housing by disconnecting the hose that connects it to the carburettor; then unscrew the fixing screws of the elbow connector on the carburettor, the fuel hoses, and the throttle and choke cable. At this point, unscrew the fixing pins at the base of the carburettor to remove it from its seat. Then perform an external wash with petrol to remove any dirt residue before opening it; unscrew the four upper screws to remove the cover and access the jets that need to be unscrewed and cleaned, ensuring that the passageways are perfectly clear. Finally, reassemble everything in reverse order.
Updated on 21 March 2026 by ScegliAuto
Video tutorial
Related tutorials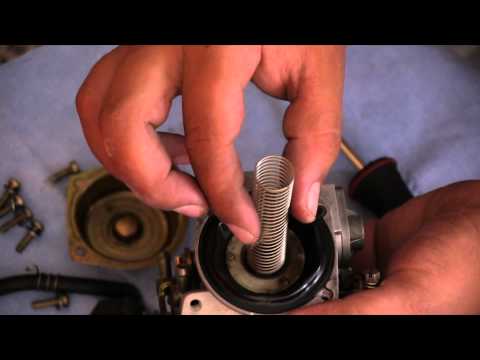
Fiat 126
(1972-1991 /
MK 1)
If you experience issues starting the engine or if the acceleration is slow and erratic, the carburettor may be dirty and unable to ensure the correc…

Fiat 126
(1972-1991 /
MK 1)
In this guide, you will see the main steps on how to disassemble and remove the entire engine block from a Fiat 126, as well as from a classic Fiat 5…
Fiat 126
(1972-1991 /
MK 1)
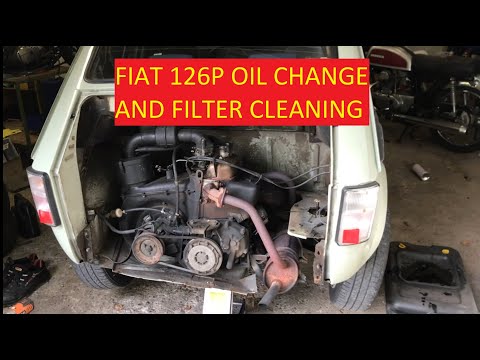
Briefly change the engine oil on the Fiat 126 by following the instructions below. First, raise the vehicle and remove the oil drain bolt located on …
Other guides you may be interested in
|
How to Check the Oil Level on a Jeep Renegade?
To check the oil level on a Jeep Renegade, you need to open the bonnet to access the components inside the engine bay: on the lower left side of the engine block, you will find the dipstick for checking the level. This should be pulled out and thoroughly cleaned with a cloth: once cleaned, reinsert it back into its tube and pull it out immediately after. This way, you can check that the oil mark is between the minimum and maximum levels; finally, you can place the dipstick back in its tube. by ScegliAuto More videos
|
|
For advertising on this site Write to info@scegliauto.com
ScegliAuto is not responsible for any inaccuracy of the data in the lists. To report any inaccuracy or your business (if you own the business in question), please write to info@scegliauto.com
Number of seconds to generate the page: 0.199
(c) ScegliAuto 2026 - info@scegliauto.com - Privacy policy VAT number: IT01247470535 |
