
|
Do it yourself
| |||
| ||||


How to Install the Rear Camera on the Fiat Panda 169
Model: Fiat Panda
169, MK 2
- Years 2003-2012
This guide shows how to install the rear camera on the Fiat Panda 169 in the number plate area. First, remove the internal panel of the boot lid. From inside the cabin, in the radio compartment, install the camera cable and insert it into the glove compartment; then, route the cable through the channel to reach the rear of the car. Once out of the side channel and into the side compartment of the boot, run the camera cable through the channel along the edge of the boot lid to the tube that carries the power cables for the wiper and number plate lights. After unscrewing the cover of the stop lights, you can pass the cable through the gap between the glass and the frame. Route the rear camera cable through the boot lid to the handle. Remove the retaining bolts of the handle to allow the camera cable to pass; during reassembly, take care with the manual lock release lever of the boot lock, which may detach. Check the correct operation of the camera before reassembling everything.
Updated on 24 April 2026 by ScegliAuto
Video tutorial
Related tutorials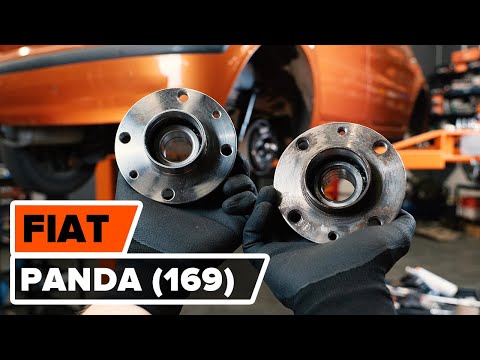
Fiat Panda
(2003-2012 /
169, MK 2)
To replace the rear wheel bearing on a Fiat Panda 169, lift the car using a jack or ramp and loosen the bolts securing the rear wheel, completely rem…
Fiat Panda
(2003-2012 /
169, MK 2)
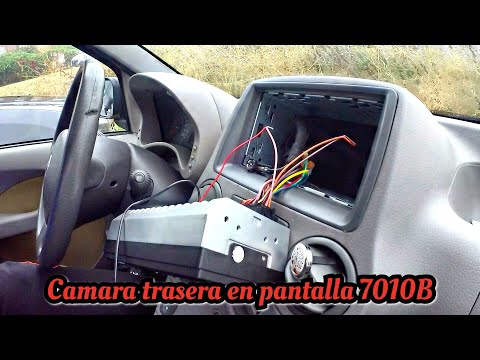
To install a reversing camera on the Fiat Panda, first replace the vehicle's standard radio with one compatible with the device. Once the new radio i…
Fiat Panda
(2003-2012 /
169, MK 2)
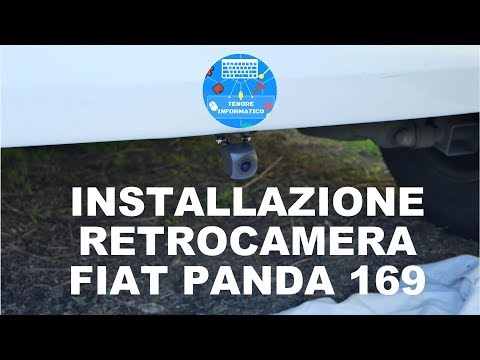
To install the parking reverse camera on your vehicle, start by measuring the midpoint of the rear bumper with a tape measure. Next, begin mounting t…
Other guides you may be interested in
|
How to Check the Oil Level on a Jeep Renegade?
To check the oil level on a Jeep Renegade, you need to open the bonnet to access the components inside the engine bay: on the lower left side of the engine block, you will find the dipstick for checking the level. This should be pulled out and thoroughly cleaned with a cloth: once cleaned, reinsert it back into its tube and pull it out immediately after. This way, you can check that the oil mark is between the minimum and maximum levels; finally, you can place the dipstick back in its tube. by ScegliAuto More videos
|

|
For advertising on this site Write to info@scegliauto.com
ScegliAuto is not responsible for any inaccuracy of the data in the lists. To report any inaccuracy or your business (if you own the business in question), please write to info@scegliauto.com
Number of seconds to generate the page: 0.571
(c) ScegliAuto 2026 - info@scegliauto.com - Privacy policy VAT number: IT01247470535 |
