
|
Do it yourself
| |||
| ||||


Adjusting the Headlights on Fiat Panda 141
Model: Fiat Panda
141, MK 1
- Years 1980-2003
In this video, you can see how to resolve the issue of non-functioning dipped beam headlights. If the fuses and relay are in order, the problem lies elsewhere. The operation must be performed on the fuse box located on the driver's side of the car. We are interested in the fuses for the dipped beam lights and the position lights; you will find a red 10 Amp fuse and a brown 7.5 Amp fuse; there are two fuses because there is a right and left dipped beam. When they do not work, wiring can be created. As described in the video, you need to take power from the position light fuse, allowing you to supply power to the dipped beam. If there is no power to the position light, you can add a piece to the wiring and supply power to both the dipped beams and the position light. Start by removing the casing and the support of the panel to access the connectors of the switch. Continue the work as illustrated in the video.
Updated on 30 April 2026 by ScegliAuto
This video is currently unavailable
Related tutorials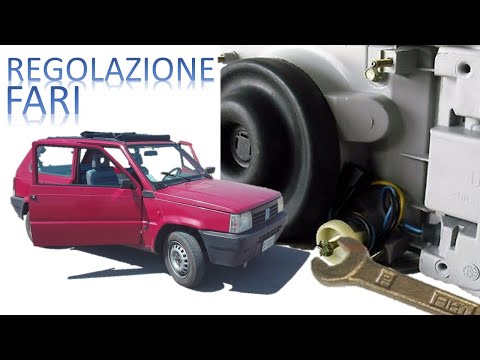
Fiat Panda
(1980-2003 /
141, MK 1)
This video demonstrates how to adjust the front headlights on a Fiat Panda. For this task, you will need an 8mm spanner to loosen and tighten the adj…
Fiat Panda
(2003-2012 /
169, MK 2)
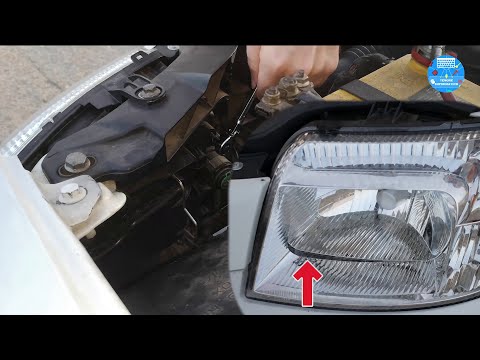
In today's video, you will learn how to adjust the height or angle of the dipped headlights on a Fiat Panda 169. You can make the adjustment in two d…

Fiat Panda
(1980-2003 /
141, MK 1)
If we want to renew the dashboard of our old and beloved Fiat Panda 141 without altering it too much, we have the option to install this useful acces…
Other guides you may be interested in
|
How to Replace the Remote Battery for the Volvo XC40?
In this tutorial, you will see how to replace the battery in the remote for the Volvo XC40, a very simple and quick operation. For this, you will need a replacement battery of type CR2032 and possibly a small flathead screwdriver. First, remove the front cover by pressing the button on the metal ring, then locate the second button, press it as well, and remove the opposite cover. Next, open the circular cap, take out the old battery, and insert the new one in the opposite direction. Finally, reassemble everything. by ScegliAuto More videos
|
|
For advertising on this site Write to info@scegliauto.com
ScegliAuto is not responsible for any inaccuracy of the data in the lists. To report any inaccuracy or your business (if you own the business in question), please write to info@scegliauto.com
Number of seconds to generate the page: 0.335
(c) ScegliAuto 2026 - info@scegliauto.com - Privacy policy VAT number: IT01247470535 |
