
|
Do it yourself
| |||
| ||||


Fiat Panda 1.3 MultiJet turbine disassembly guide
Model: Fiat Panda
169, MK 2
- Years 2003-2012
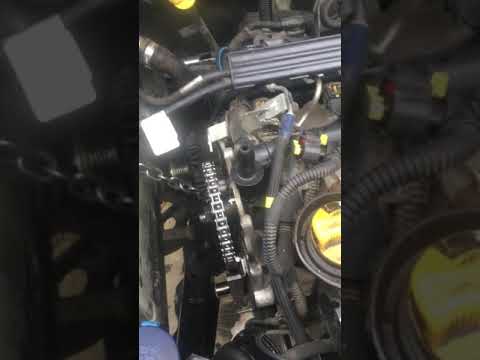
Let's see in this guide the main steps that will allow us to carry out the overhaul of the turbocharger of the second series Fiat Panda, with 1.3 MultiJet engine. First of all, we open the bonnet and begin to disconnect the intake hose from the turbine; we remove the electrical connectors and disconnect the exhaust manifold from the turbine, then unscrewing the fixing screws to remove it. The video shows how to disassemble the turbocharger in all its parts, in order to replace any damaged parts, as well as the gaskets; overhauling the turbo is a job that requires special attention.
Posted on 1 February 2022 by ScegliAuto
Video tutorial
Related tutorials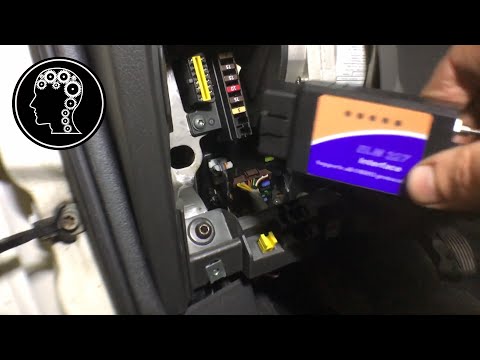
Fiat Panda
(2003-2012 /
169, MK 2)
In today's video we will reset the oil change routine maintenance service light on a second series Fiat Panda 1.3 MultiJet, but also on most vehicles…

Fiat Panda
(2003-2012 /
169, MK 2)
In this guide, we will see the instructions that will allow us to disassemble and replace the thermostat of the Fiat Panda 4x4 1.3 MultiJet. Let's op…
Fiat Panda
(2003-2012 /
169, MK 2)
In this video we can see some small but useful tricks for working on the chain of the Panda MultiJet 1.3 Euro version; to find the timing cap of the …
Other guides you may be interested in
|
How to Replace the Rear Light and Bulbs on a Ford Focus Year 2000
To replace the rear light and bulbs on a Ford Focus 2000/2004, first, open the tailgate of the boot. This gives access to the screw that holds the rear light in place. The screw to undo (using an appropriate screwdriver) is located inside the light and corresponds to the fold that accommodates the tailgate (as shown in the images). Once you start to undo it, continue with the operation and then remove the nut from the inside of the bodywork. At this point, you can remove the light, being careful to disconnect the electrical supply by unplugging the connectors or removing the entire bulb holder from its housing. This way, you can replace the bulbs. To reassemble everything, simply follow the described operations in reverse order. by ScegliAuto More videos
|

|
For advertising on this site Write to info@scegliauto.com
ScegliAuto is not responsible for any inaccuracy of the data in the lists. To report any inaccuracy or your business (if you own the business in question), please write to info@scegliauto.com
Number of seconds to generate the page: 0.059
(c) ScegliAuto 2026 - info@scegliauto.com - Privacy policy VAT number: IT01247470535 |