
|
Do it yourself
| |||
| ||||


Operation of the On-Board Computer of the Fiat Ducato X250
Model: Fiat Ducato
X250
- Years:
2006, 2007, 2008, 2009, 2010, 2011, 2012, 2013, 2014
Video tutorial
In this video, you will see how the on-board computer of the Fiat Ducato X250 operates; to change the time, go to the clock settings, press the arrow buttons, and set the desired time. You can do the same with the date. It may be useful to lock the doors, particularly the loading area. Simply go to the "menu" and set "automatic locking". This setting activates automatically above 12 mph, and the cargo area remains locked even when stationary, preventing anyone from approaching the load and opening the tailgate. To adjust the sound volume, from the "Menu", press the arrow buttons, and then adjust the volume to your liking. To avoid constantly looking at the speedometer during your journey, the driver can set a maximum speed not to be exceeded; in this case, a warning signal sounds, reminding the driver to slow down. The language on the dashboard can be easily changed by clicking on the language menu, where all available languages appear in sequence: simply click on the desired one to confirm.
Updated on 5 August 2026 by ScegliAuto
Related tutorials
Fiat Ducato
(2006-2014 /
X250)
Today, I will explain how to perform a diagnostic check on a 2009 Fiat Ducato. The procedure is very simple; first, start the vehicle's instrument cl…

Fiat Ducato
(2006-2014 /
X250)
In this guide, we will discover how to replace the coolant in the Fiat Ducato X250 in simple steps. First, open the bonnet and start by removing the …
Fiat Ducato
(2006-2014 /
X250)
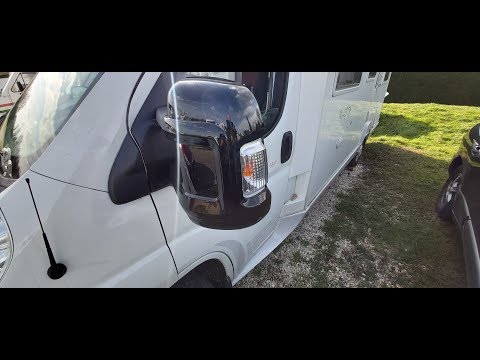
Today you will learn how to remove the external wing mirror from a Fiat Ducato X250 by following these simple instructions. Open the front door first…
Other guides you may be interested in
|
How to Remove the Rear Seat of a Hyundai Tucson?
To remove the rear seat of a Hyundai Tucson, follow these steps. Start by moving the front seats to their most forward position to gain space. Next, locate the release lever on the underside of the rear seat, near the floor. Press this lever down while pulling the seat upwards to unlock it from the anchor pins. Once unlocked, tilt the seat upwards and forwards to remove it from its position. Repeat this process for both sides of the rear seat. Be careful of any electrical cables or components that may be connected to the seat during removal. Once the rear seat is removed, the disassembly is complete. by ScegliAuto More videos
|
|
For advertising on this site Write to info@scegliauto.com
ScegliAuto is not responsible for any inaccuracy of the data in the lists. To report any inaccuracy or your business (if you own the business in question), please write to info@scegliauto.com
Number of seconds to generate the page: 0.104
(c) ScegliAuto 2026 - info@scegliauto.com - Privacy policy VAT number: IT01247470535 |
