
|
Do it yourself
| |||
| ||||


Replacing the Cabin Air Filter
Model: Fiat Bravo
- Years:
1995, 1996, 1997, 1998, 1999, 2000, 2001
Video tutorial
To replace the cabin air filter, open the front bonnet and locate the filter housing just below the windscreen, on the passenger side, within the plastic trim covering the area beneath the windscreen itself. Then, unscrew the two screws securing the filter housing cap, remove it, and ensure there are no dirt residues inside. Now, install the new filter (activated carbon filters are recommended), orienting it according to the airflow direction indicated by the arrows printed on the filter.
Updated on 21 February 2026 by ScegliAuto
Related tutorials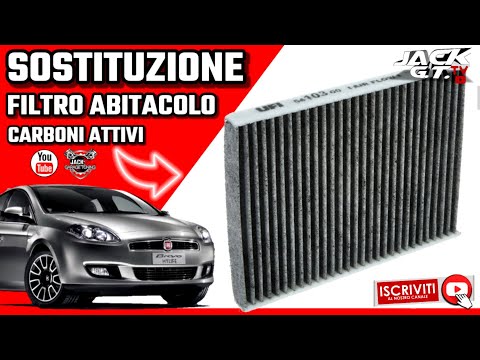
Fiat Bravo
(2007-2014 /
Bravo 2)
In this brief and simple guide, learn how to replace the cabin air filter on the Fiat Bravo by following the instructions below. First, get inside th…
Fiat Bravo
(2007-2014 /
Bravo 2)
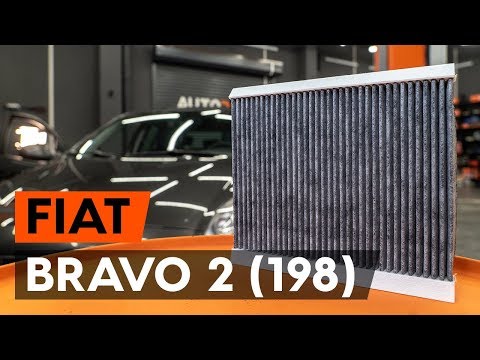
In this video tutorial, you will learn how to remove and replace the cabin air filter of a second series Fiat Bravo. The air filter is located at the…

Fiat Bravo
(1995-2001 /
)
The camshaft oil seal may deteriorate, causing oil leaks that contaminate the entire timing area; replacing it is fairly straightforward, except that…
Other guides you may be interested in
|
How to Reset the Tyre Pressure Warning Light on a Kia Rio?
The tyre pressure warning light displayed on the instrument cluster of the Kia Rio can be reset by inflating the tyres until they reach the recommended pressure value: this value is indicated on the sticker affixed to the driver's door pillar. Once all tyres have been inflated to the recommended pressure, turn on the ignition to check that the light has disappeared: if it is still present, it may be necessary to drive for a few miles, allowing the sensors to work and thus turning off the light. by ScegliAuto More videos
|
|
For advertising on this site Write to info@scegliauto.com
ScegliAuto is not responsible for any inaccuracy of the data in the lists. To report any inaccuracy or your business (if you own the business in question), please write to info@scegliauto.com
Number of seconds to generate the page: 0.066
(c) ScegliAuto 2026 - info@scegliauto.com - Privacy policy VAT number: IT01247470535 |
