
|
Do it yourself
| |||
| ||||


How to Replace and Adjust the Handbrake Lever
Model: Fiat Panda
169, MK 2
- Years 2003-2012
Replacing and adjusting the handbrake cable is a costly maintenance task. Therefore, today, with the help of our video tutorial, you will learn how to perform this procedure independently. The first step is to lift the car using a jack and then remove the rear wheel. Once the wheel is off, you will immediately notice the handbrake cable; in 4x4 vehicles, the cable also runs to the passenger side. The second step is to get into the car and remove the handbrake cover and the corresponding nuts, as shown in the video. Next, start disassembling the inner cable by removing the nuts with pliers and pulling it outwards. The third step is to use a pair of locking pliers to remove the fittings where the external handbrake cable is located and completely take it out. The fourth step is to insert the new cable into the external fittings and then route it inside where it will be secured with the previously removed nuts. Refit the central cover and the wheel to complete the job.
Updated on 7 September 2026 by ScegliAuto
Video tutorial
Related tutorials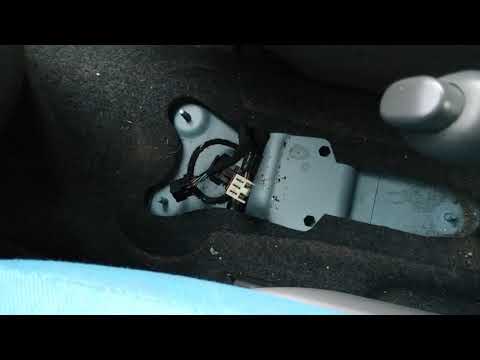
Fiat Panda
(2003-2012 /
169, MK 2)
Before you begin, sit in the driver’s seat of your Fiat Panda. Start by removing the covers inside the cup holder and a cover located just in front o…
Fiat Panda
(2003-2012 /
169, MK 2)
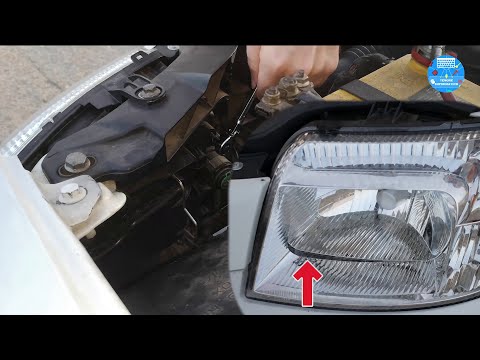
In today's video, you will learn how to adjust the height or angle of the dipped headlights on a Fiat Panda 169. You can make the adjustment in two d…
Fiat Panda
(1980-2003 /
141, MK 1)
Let’s see how to adjust the carburettor on a Fiat 750. Open and lift the front bonnet (secure it); unscrew the two nuts (located above the cover) of …
Other guides you may be interested in
|
How to replace the horn on a Renault Duster - Dacia Duster
Today's main instructions will show you the procedure for removing and replacing the horn or sound signal on the Renault Duster, as well as the Dacia Duster. First, open the bonnet of the vehicle and start removing the front bumper by unscrewing all the fixing screws; you will find the horn right in front of the radiator, as shown in the video. At this point, disconnect the electrical connector and unscrew the bracket screw to remove and replace the horn with the new one; finally, reassemble the front bumper! by ScegliAuto More videos
|

|
For advertising on this site Write to info@scegliauto.com
ScegliAuto is not responsible for any inaccuracy of the data in the lists. To report any inaccuracy or your business (if you own the business in question), please write to info@scegliauto.com
Number of seconds to generate the page: 0.073
(c) ScegliAuto 2026 - info@scegliauto.com - Privacy policy VAT number: IT01247470535 |
