
|
Do it yourself
| |||
| ||||


Replacement of Rear Headlight Bulb
Model: Fiat Punto
MK 2, 188
- Years:
1999, 2000, 2001, 2002, 2003, 2004, 2005, 2006, 2007, 2008, 2009, 2010
Video tutorial
To replace the rear light bulb, you need to remove the entire light assembly. The screws are accessible: one at the bottom under the boot cover near the access opening, the other under the pillar cover after removing the plastic cap. After removing the screws with an 18 mm spanner, take out the light by disconnecting the connector. Once the light is removed, take out the four screws to access the bulb holder. Carefully remove the cover and replace the faulty bulb by pressing it slightly and turning it anti-clockwise until it releases. Refit the new bulb using one with the same specifications. If necessary, clean any oxidised parts with appropriate sprays. Refit the screws of the bulb holder and reposition the light assembly in its housing, reconnecting the respective connector. Tighten the screws carefully.
Updated on 2 February 2026 by ScegliAuto
Related tutorials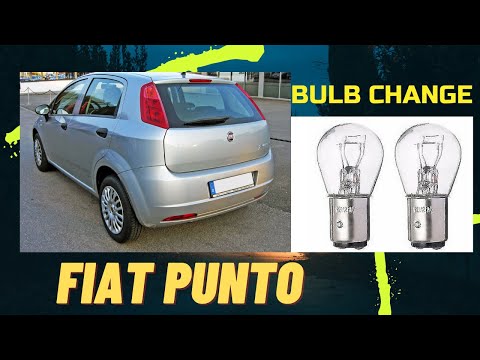
Fiat Punto
(2005-2018 /
199, MK 3, Grandepunto , Punto EVO)
To replace the rear light bulb on the Fiat Punto, open the tailgate to access the screws securing the rear light in its housing. After loosening thes…

Fiat Punto
(2005-2018 /
199, MK 3, Grandepunto , Punto EVO)
Replacing the rear headlight bulb of the Fiat Punto MK3 model is a simple and quick operation to carry out independently. To replace the bulbs, we ne…
Fiat Punto
(2005-2018 /
199, MK 3, Grandepunto , Punto EVO)
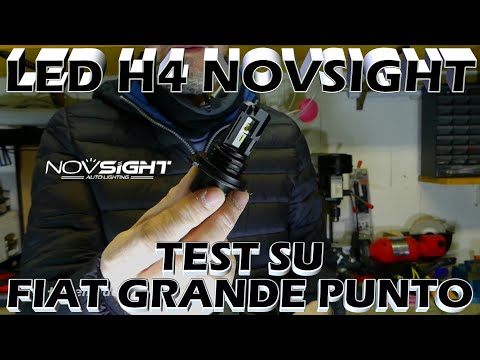
To install an H4 LED bulb (dipped and main beam) on a Fiat Grande Punto, start by removing the rubber cap at the back of the headlamp, disconnect the…
Other guides you may be interested in
|
How to Reset the Tire Pressure Light on a MG ZS?
On the instrument cluster of the MG ZS, the tire pressure light that appears can be reset by inflating the tires to the correct pressure: this value will be indicated on the sticker attached to the driver's door pillar. Once the tires have been properly inflated, you can turn on the instrument cluster and navigate through the menu until you find the option that indicates tire pressure: if this screen shows the new values, the light will turn off; otherwise, you will need to drive for a few miles so that the sensors can read the new values and turn off the light afterward. by ScegliAuto More videos
|
|
For advertising on this site Write to info@scegliauto.com
ScegliAuto is not responsible for any inaccuracy of the data in the lists. To report any inaccuracy or your business (if you own the business in question), please write to info@scegliauto.com
Number of seconds to generate the page: 0.137
(c) ScegliAuto 2026 - info@scegliauto.com - Privacy policy VAT number: IT01247470535 |
