
|
Do it yourself
| |||
| ||||


Video tutorial
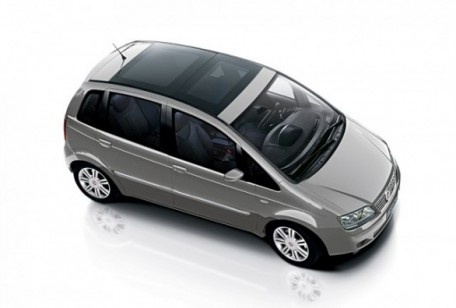
Both the Fiat Idea and its sister model, the Lancia Musa, do not have a proper glove compartment, but there are two storage spaces on the dashboard, one on the driver's side and one on the passenger's side, covered by a lid that opens and closes via hinges integrated into the rear plastic support. If items are not positioned correctly in the compartment, the hinges may get damaged when closing the lid. To resolve this issue, remove the lid by unscrewing the four fixing screws, separate the outer cover from the inner one, then drill the hinge seats and perform a sort of reconstruction using a two-component material, ensuring it does not bond to the hinge itself. After the repair, glue the two elements of the lid together.
Updated on 24 February 2026 by ScegliAuto
Related tutorials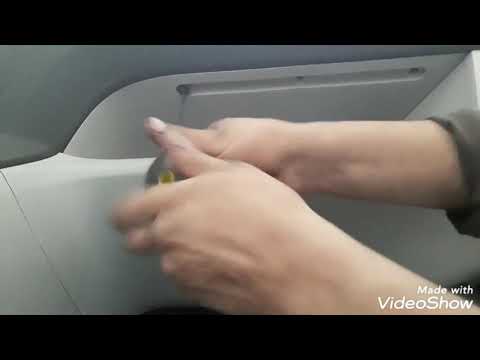
Fiat Idea
(2003-2016 /
MK 1)
To ensure clean air flow in the Fiat Idea's air conditioning system, a filter must be periodically replaced. To do this, sit in the front passenger s…
Fiat Idea
(2003-2016 /
MK 1)
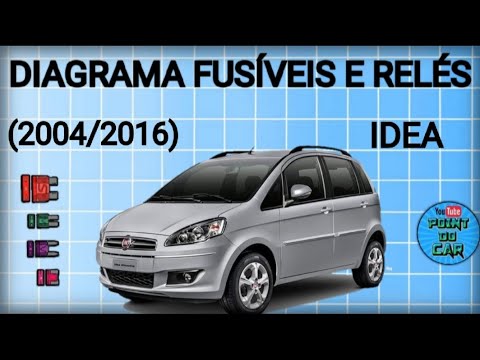
In this mini guide dedicated to your Fiat Idea Mk2, we will discover where the fuse box is located. Before starting, remember that any replacement or…

Fiat Idea
(2003-2016 /
MK 1)
Before you begin, sit in the driver's seat of your Fiat Idea. Start by activating the instrument panel. Then, press the "mode" button located to the …
Other guides you may be interested in
|
How to Remove the Rear Seat of a Hyundai Tucson?
To remove the rear seat of a Hyundai Tucson, follow these steps. Start by moving the front seats to their most forward position to gain space. Next, locate the release lever on the underside of the rear seat, near the floor. Press this lever down while pulling the seat upwards to unlock it from the anchor pins. Once unlocked, tilt the seat upwards and forwards to remove it from its position. Repeat this process for both sides of the rear seat. Be careful of any electrical cables or components that may be connected to the seat during removal. Once the rear seat is removed, the disassembly is complete. by ScegliAuto More videos
|
|
For advertising on this site Write to info@scegliauto.com
ScegliAuto is not responsible for any inaccuracy of the data in the lists. To report any inaccuracy or your business (if you own the business in question), please write to info@scegliauto.com
Number of seconds to generate the page: 0.031
(c) ScegliAuto 2026 - info@scegliauto.com - Privacy policy VAT number: IT01247470535 |
