
|
Do it yourself
| |||
| ||||


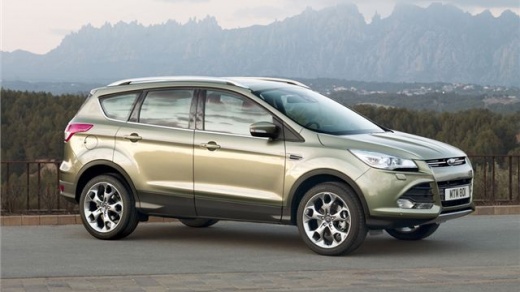
How to replace the rear fog light bulb on the Ford Kuga MK2
Model: Ford Kuga
MK 2, C520
- Years:
2012, 2013, 2014, 2015, 2016, 2017, 2018, 2019
Video tutorial
This video shows how to replace the rear fog light on the Ford Kuga. From inside the bumper, disconnect the electrical connector to remove the bulb. It is advisable, due to the spark caused by the YouTuber when disconnecting the electrical plug, to disconnect the negative terminal of the battery; make sure to keep the radio code handy! The bulb comes out with the connector, making it easy to replace. If you also need to replace the light unit, you can find it on Amazon with the code B0C1587M14 for £20.50, including delivery. Removing the light unit is straightforward as it is simply clipped in; fit the new one in place and from underneath the vehicle, insert the bulb that you should replace anyway. Reconnect the electrical connector and your job is done.
Updated on 24 October 2026 by ScegliAuto
Related tutorials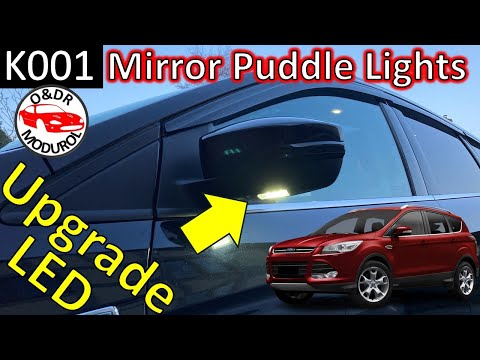
Ford Kuga
(2012-2019 /
MK 2, C520)
To replace the bulb in the external rear-view mirror of the Ford Kuga, lever under the glass of the mirror to extract it from the housing. Once the g…

Ford Kuga
(2020-2026 /
MK 3)
In this video, we will see how to replace the reverse light bulb of a Ford Kuga MK3: behind the rear light cluster there are two large plastic screws…
Ford Kuga
(2008-2012 /
MK 1, C394)
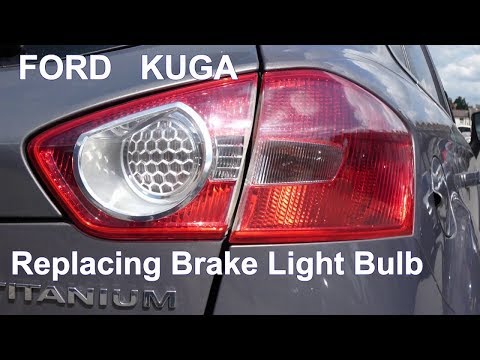
In this video tutorial, you will learn how to remove the rear headlamp bulb from a Ford Kuga in simple steps without any tools. First, open the boot …
Other guides you may be interested in
|
How to Remove the Toll Tag Holder from the Car Windscreen
The toll tag holder is usually attached to the car windscreen to ensure that the toll tag functions immediately when passing through barriers. However, if you decide to remove the holder, you should follow this procedure: - Insert the toll tag into the holder; - Pull the holder inwards to detach it from the windscreen; you can use a glass scraper or a stiff plastic card to assist you; After removing the holder, it is essential to remove the adhesive from the windscreen. To remove the adhesive, we recommend using a solvent-based spray that will remove the glue without clouding the area. by ScegliAuto More videos
|
|
For advertising on this site Write to info@scegliauto.com
ScegliAuto is not responsible for any inaccuracy of the data in the lists. To report any inaccuracy or your business (if you own the business in question), please write to info@scegliauto.com
Number of seconds to generate the page: 0.088
(c) ScegliAuto 2026 - info@scegliauto.com - Privacy policy VAT number: IT01247470535 |
