
|
Do it yourself
| |||
| ||||


How to Replace the Front Headlight of the Ford F250 Super Duty P473
Model: Ford F-250
P473
- Years:
2011, 2012, 2013, 2014, 2015, 2016
Video tutorial
This guide shows how to replace the front headlights of the Ford F250 Super Duty P473. After opening the hood, use a 10mm wrench to remove the 4 bolts securing the front grille. Once the grille is moved forward, detach the metal clips securing it at the base. The headlight is held in place by 4 bolts that are 10mm. At this point, you can pull the headlight out of its housing and disconnect the electrical connectors. After making any necessary modifications to the electrical connectors, you can install the new headlight assembly. Reconnect the electrical wires, tighten the 4 fastening screws, and check the proper operation and alignment of the headlights. Reinstall the front grille.
Updated on 3 May 2026 by ScegliAuto
Related tutorials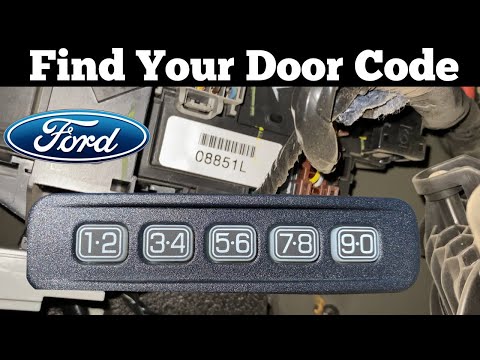
Ford F-250
(2011-2016 /
P473)
In this video, learn how to find the door code on a Ford F250 Super Duty. The code is provided at the time of purchase, along with the vehicle's docu…
Ford F-250
(2011-2016 /
P473)
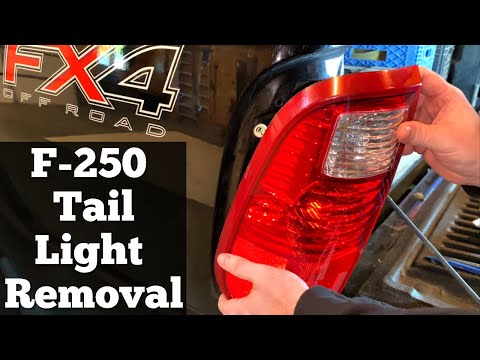
This guide shows how to remove the tail light assembly on a Ford F250 P473 to replace the reverse bulb. First, secure the vehicle and open the bed ac…

Ford F-250
(2017-2022 /
P558)
This guide shows how to replace the fuel filter on the Ford F250 Super Duty p558. The operation can be performed without lifting the vehicle, given t…
Other guides you may be interested in
|
How to lower the rear seats in the Peugeot 206?
In this tutorial, you will see how to lower the rear seats in the Peugeot 206, a very simple and quick operation, for example, if you need more space in the boot. First, open both the doors and the tailgate, then unclip the seat base and position it vertically. Next, remove the horizontal partition, locate the release levers at the ends of both seatbacks, and, by operating them, lower the seatbacks. To reassemble everything, simply follow the reverse procedure. by ScegliAuto More videos
|
|
For advertising on this site Write to info@scegliauto.com
ScegliAuto is not responsible for any inaccuracy of the data in the lists. To report any inaccuracy or your business (if you own the business in question), please write to info@scegliauto.com
Number of seconds to generate the page: 0.028
(c) ScegliAuto 2026 - info@scegliauto.com - Privacy policy VAT number: IT01247470535 |
