
|
Do it yourself
| |||
| ||||


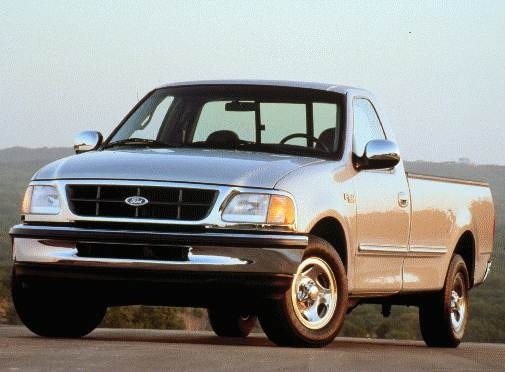
How to Remove the Rear Light of the Ford F150 Mk10
Model: Ford F-150
MK 10
- Years:
1997, 1998, 1999, 2000, 2001, 2002, 2003, 2004
Video tutorial
This guide shows how to remove the rear light of the Ford F150 Mk10. The process is very simple and does not require special tools. First, open the trunk to expose the two 8 mm bolts securing the light assembly. Once the two bolts are removed, use a plastic trim tool to avoid damaging the light's retaining clips while extracting the light body. Carefully pull out the light, paying attention to the electrical connectors; to disconnect them, simply rotate the socket.
Updated on 3 June 2026 by ScegliAuto
Related tutorials
Ford F-150
(1997-2004 /
MK 10)
As you approach the mileage for an engine oil change and filter replacement on the Ford F150, a light will appear on the dashboard to remind you. We …

Ford F-150
(2009-2014 /
MK 12)
In this article we will show you how to replace the headlight bulb of the Ford F150. For this operation you will need a 10mm socket wrench and a Phil…

Ford F-150
(1997-2004 /
MK 10)
Let's see how to change the front headlights on a Ford F-150 MK10: you can find a pair of headlight assemblies on eBay with the code 127655946431 for…
Other guides you may be interested in |
How to Remove the Toll Tag Holder from the Car Windscreen
The toll tag holder is usually attached to the car windscreen to ensure that the toll tag functions immediately when passing through barriers. However, if you decide to remove the holder, you should follow this procedure: - Insert the toll tag into the holder; - Pull the holder inwards to detach it from the windscreen; you can use a glass scraper or a stiff plastic card to assist you; After removing the holder, it is essential to remove the adhesive from the windscreen. To remove the adhesive, we recommend using a solvent-based spray that will remove the glue without clouding the area. by ScegliAuto More videos
|
|
For advertising on this site Write to info@scegliauto.com
ScegliAuto is not responsible for any inaccuracy of the data in the lists. To report any inaccuracy or your business (if you own the business in question), please write to info@scegliauto.com
Number of seconds to generate the page: 0.023
(c) ScegliAuto 2026 - info@scegliauto.com - Privacy policy VAT number: IT01247470535 |
