
|
Do it yourself
| |||
| ||||


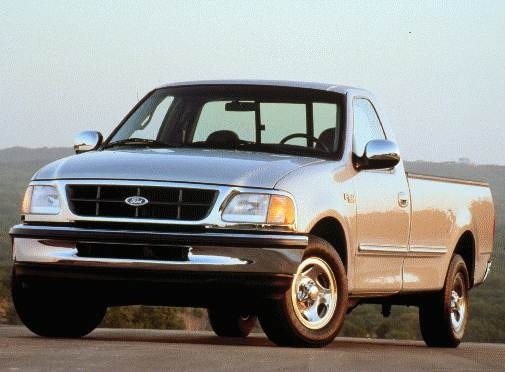
How to Replace the Headlights on a Ford F-150 MK10
Model: Ford F-150
MK 10
- Years:
1997, 1998, 1999, 2000, 2001, 2002, 2003, 2004
Video tutorial
Let's see how to change the front headlights on a Ford F-150 MK10: you can find a pair of headlight assemblies on eBay with the code 127655946431 for $110.00, with free shipping. Start by removing the old headlight by lifting the two plastic tabs that hold it in place, then pull the headlight outward, releasing the three tabs that lock into the body. Finally, disconnect the electrical connector. Check the new headlight for the black threaded inserts that must be completely unscrewed outward. This step prevents forcing the headlight to align with the body holes. When installing the new headlight, start by connecting the electrical connector, then align the three tabs of the headlight with the body holes, push it down, and ensure it is secure. Next, adjust the headlight height: make sure the tires are inflated to the correct pressure, find a white wall, measure 25 ft from the wall, measure the height of the center dot of the headlight lens, and mark this measurement on the wall with tape. For the driver's side, mark 4 in lower; for the passenger side, 2 in lower. Adjust the headlights with the screws until the beam hits the marks.
Posted on 22 September 2026 by ScegliAuto
Related tutorials
Ford F-150
(1997-2004 /
MK 10)
.. shows how to remove the rear light of the Ford F150 Mk10. The process is very simple and does not require special tools. First, open the trunk to expose.. …

Ford F-150
(1997-2004 /
MK 10)
In this new guide dedicated to your 2000 Ford F-150, discover where the fuse box is located and how to access it safely and quickly. First, open the …

Ford F-150
(1997-2004 /
MK 10)
In this guide for your 1998 Ford F-150, discover the steps to quickly and safely locate the fuse box that contains all the fuses for your vehicle. Fi…
Other guides you may be interested in
|
How to Remove the Rear Seat of a Hyundai Tucson?
To remove the rear seat of a Hyundai Tucson, follow these steps. Start by moving the front seats to their most forward position to gain space. Next, locate the release lever on the underside of the rear seat, near the floor. Press this lever down while pulling the seat upwards to unlock it from the anchor pins. Once unlocked, tilt the seat upwards and forwards to remove it from its position. Repeat this process for both sides of the rear seat. Be careful of any electrical cables or components that may be connected to the seat during removal. Once the rear seat is removed, the disassembly is complete. by ScegliAuto More videos
|
|
For advertising on this site Write to info@scegliauto.com
ScegliAuto is not responsible for any inaccuracy of the data in the lists. To report any inaccuracy or your business (if you own the business in question), please write to info@scegliauto.com
Number of seconds to generate the page: 0.040
(c) ScegliAuto 2026 - info@scegliauto.com - Privacy policy VAT number: IT01247470535 |
