
|
Do it yourself
| |||
| ||||


Cylinder Head Gasket Replacement
Model: Ford Fiesta
Fiesta 4, Be91, MK 4, MK IV
- Years:
1996, 1997, 1998, 1999, 2000, 2001, 2002
Video tutorial
When performing the cylinder head gasket replacement, it is advisable to have the surface of the head skimmed to eliminate any warping caused by thermal stress; after skimming, check the perfect flatness of the surface using a straight edge and a feeler gauge; perform the same check on the cylinder block; proceed to replace the valve guide seals using the appropriate spring compressor to release the valve return spring, remove it, and extract the old seal; insert the new one, lubricating it generously; re-tap the threads of the head fixing holes and insert the new gasket before seating the head itself; use a new set of bolts to secure it, following a cross pattern, using both a torque wrench and a standard spanner; then install the new camshaft, the respective oil seals, and the timing pulley; insert the new dowels, align the timing marks, and install the timing belt; finish with the installation of the rocker cover.
Updated on 12 February 2026 by ScegliAuto
Related tutorials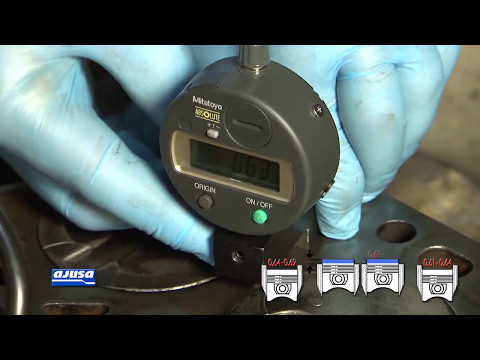
Ford Fiesta
(1996-2002 /
Fiesta 4, Be91, MK 4, MK IV)
Before applying the new cylinder head gasket, ensure that the surface of the head and the cylinder block is perfectly flat: use a straight bar and a …

Ford Fiesta
(1996-2002 /
Fiesta 4, Be91, MK 4, MK IV)
Start by checking for any warping of the cylinder head using a straight edge and a feeler gauge for the valves and valve lift; lubricate and insert t…
Ford Fiesta
(1996-2002 /
Fiesta 4, Be91, MK 4, MK IV)
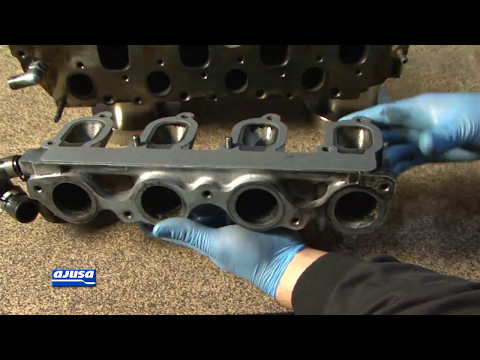
Before applying the new gasket to the intake manifold, thoroughly clean the gasket seating on both the cylinder head and manifold sides: remove any d…
Other guides you may be interested in
|
How to Reset the Tyre Pressure Warning Light on the Jeep Renegade?
To reset the tyre pressure warning light on the Jeep Renegade, inflate the tyres until they reach the recommended pressure: this value is indicated on the sticker attached to the driver’s door pillar. Once the tyres are properly inflated, navigate through the menu that appears on the instrument cluster until you find the tyre pressure option. At this point, press and hold the OK button on the right side of the steering wheel to make the warning light disappear. by ScegliAuto More videos
|
|
For advertising on this site Write to info@scegliauto.com
ScegliAuto is not responsible for any inaccuracy of the data in the lists. To report any inaccuracy or your business (if you own the business in question), please write to info@scegliauto.com
Number of seconds to generate the page: 0.038
(c) ScegliAuto 2026 - info@scegliauto.com - Privacy policy VAT number: IT01247470535 |
