
|
Do it yourself
| |||
| ||||


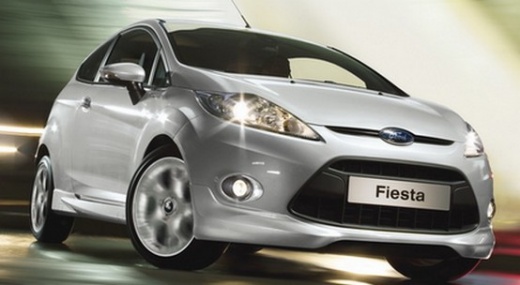
Replacing the Brake Pads on a Ford Fiesta
Model: Ford Fiesta
Fiesta 6, MK VI, MK 6
- Years:
2008, 2009, 2010, 2011, 2012, 2013, 2014, 2015, 2016, 2017
Video tutorial
Here’s how to replace the brake pads on a Ford Fiesta: start by placing the vehicle on a lift, open the bonnet, and remove the brake fluid reservoir cap. Loosen the wheel bolts and lift the car. Finish removing the wheel, use a brush to clean the dust from the brake caliper cover, and spray a little penetrating oil on the fixing nuts to facilitate removal. Use a lever to relieve the pressure of the pads on the disc, remove the caliper, and hang it on the shock absorber with a hook. Using a lever, remove the old pads, clean the piston seat thoroughly with a brush, spray a little WD40, and use the appropriate tool to reposition the piston in its seat. Clean the pad seat with the brush and spray a little cleaning product. Take the new pads, apply a little fitting paste to the attachments, and position them in their seats. Refit the caliper and tighten the screws with a torque wrench. Apply some copper grease to the brake shoe and clean the disc with the appropriate spray. Refit the wheel, tightening it with the torque wrench, lower the car, and replace the brake fluid reservoir cap.
Updated on 24 August 2026 by ScegliAuto
Related tutorials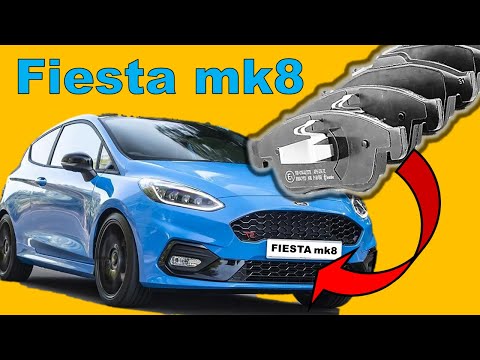
Ford Fiesta
(2017-2023 /
MK 7, MK VII, Fiesta 7)
To replace the brake pads on a Ford Fiesta, follow the same procedure for both the front and rear wheels: lift the car so that the wheel is not in co…

Ford Fiesta
(2008-2017 /
Fiesta 6, MK VI, MK 6)
Today, you will learn how to remove and replace the front brake pads on a Ford Fiesta (2008-2016). First, lift the vehicle, even if just the front en…
Ford Fiesta
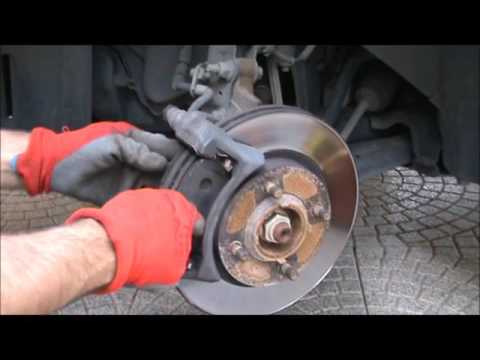
(2008-2017 /
Fiesta 6, MK VI, MK 6)
Today, I will show you how to replace the brake pads on your Ford Fiesta. First, lift the car and remove the wheel. Next, unscrew the front bolts to …
Other guides you may be interested in
|
How to Remove the Toll Tag Holder from the Car Windscreen
The toll tag holder is usually attached to the car windscreen to ensure that the toll tag functions immediately when passing through barriers. However, if you decide to remove the holder, you should follow this procedure: - Insert the toll tag into the holder; - Pull the holder inwards to detach it from the windscreen; you can use a glass scraper or a stiff plastic card to assist you; After removing the holder, it is essential to remove the adhesive from the windscreen. To remove the adhesive, we recommend using a solvent-based spray that will remove the glue without clouding the area. by ScegliAuto More videos
|
|
For advertising on this site Write to info@scegliauto.com
ScegliAuto is not responsible for any inaccuracy of the data in the lists. To report any inaccuracy or your business (if you own the business in question), please write to info@scegliauto.com
Number of seconds to generate the page: 0.067
(c) ScegliAuto 2026 - info@scegliauto.com - Privacy policy VAT number: IT01247470535 |
