
|
Do it yourself
| |||
| ||||



How to Install Weather Shields on a Holden/Chevrolet Trax
Model: Chevrolet Trax
MK 1
- Years:
2013, 2014, 2015, 2016, 2017, 2018, 2019, 2020
Video tutorial
How to install weather shields on your Holden Trax. In the video, the YouTuber mentions $50, available on amzn. To/3f45iHT These mounts are very useful for protecting against the elements and allow you to keep the window open without getting wet from the rain. The first thing to do to install them is to ensure the vehicle is perfectly clean, especially on the upper mounts. After washing the vehicle thoroughly, wipe the areas where you will stick the weather shields with alcohol to ensure they are perfectly degreased. At this point, simply remove the adhesive backing and stick them on firmly. Do the same on the rear door, making sure it is well aligned with the front one. Repeat the same process on the other side. Rain will no longer scare you.
Updated on 28 July 2026 by ScegliAuto
Related tutorials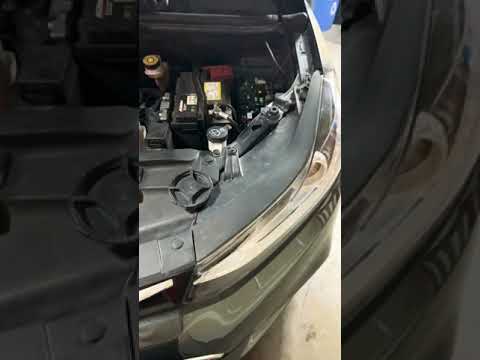
Chevrolet Trax
(2013-2020 /
MK 1)
In today's video, we will show you how to replace the headlight bulb on a Holden Trax. This video also applies to its twin, the Chevrolet Trax, and t…
Chevrolet Trax
(2013-2020 /
MK 1)
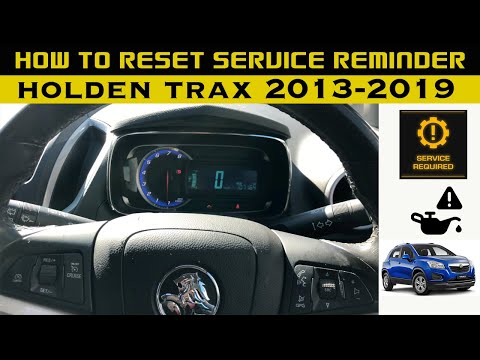
Today, you will learn how to reset the maintenance light for the oil change on the Holden Trax in this video tutorial. First, get inside the vehicle …

Chevrolet Trax
(2013-2020 /
MK 1)
To replace the exterior door handle on the Holden Trax, open the door so you can detach the circular rubber piece on the side of the door. Once this …
Other guides you may be interested in |
How to Remove the Rear Seat of a Hyundai Tucson?
To remove the rear seat of a Hyundai Tucson, follow these steps. Start by moving the front seats to their most forward position to gain space. Next, locate the release lever on the underside of the rear seat, near the floor. Press this lever down while pulling the seat upwards to unlock it from the anchor pins. Once unlocked, tilt the seat upwards and forwards to remove it from its position. Repeat this process for both sides of the rear seat. Be careful of any electrical cables or components that may be connected to the seat during removal. Once the rear seat is removed, the disassembly is complete. by ScegliAuto More videos
|
|
For advertising on this site Write to info@scegliauto.com
ScegliAuto is not responsible for any inaccuracy of the data in the lists. To report any inaccuracy or your business (if you own the business in question), please write to info@scegliauto.com
Number of seconds to generate the page: 0.014
(c) ScegliAuto 2026 - info@scegliauto.com - Privacy policy VAT number: IT01247470535 |
