
|
Do it yourself
| |||
| ||||


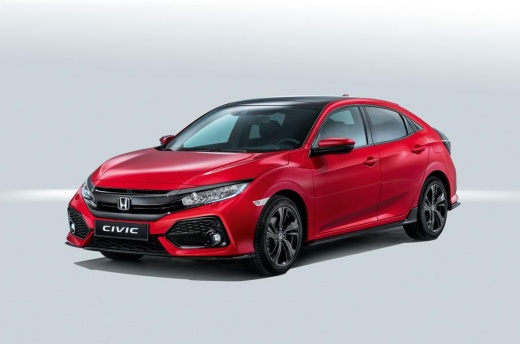
Installation of Side Window Visors
Model: Honda Civic
MK 9
- Years:
2012, 2013, 2014, 2015
Video tutorial
Thoroughly clean the application area for the visors; stick the supplied sealant strip onto the front pillar (i.e., on the front guide for the front window) and on the upper right edge. Slightly lower the seal along the top edge of the door and insert the supplied fixing brackets just below the seal, inside the channel. Check the alignment of the bracket holes with those of the visor, remove the protective strip from the adhesive on the back of the visor, stick it along the edge of the door, and insert the pressure fixing clips into the appropriate holes. Repeat the same operation for the rear window.
Updated on 3 February 2026 by ScegliAuto
Related tutorials
Honda Civic
(2001-2006 /
MK 7)
To replace the window switch, you need to remove the door panel: start by removing the plastic triangle located just behind the external mirror; take…

Honda Civic
(2001-2006 /
MK 7)
You can purchase an aftermarket Velcro panel to apply to the rear bonnet and plastic trims to cover all the reinforcement ribs: the panel will be sec…

Honda Civic
(2006-2012 /
MK 8)
This guide outlines the steps to remove and replace the window switch panel on the Honda Civic, following the instructions below. First, open the fro…
Other guides you may be interested in
|
How to reset the tyre pressure warning light on the Kia Niro EV?
To reset the tyre pressure warning light on the Kia Niro EV, inflate the tyres until they reach the correct pressure value. This value is indicated on the sticker attached to the driver's door pillar. Once the tyres are inflated, turn on the instrument cluster to check that the warning light has completely disappeared from the display. If it is still present, you may need to drive for a few miles to ensure it disappears completely from the screen. by ScegliAuto More videos
|
|
For advertising on this site Write to info@scegliauto.com
ScegliAuto is not responsible for any inaccuracy of the data in the lists. To report any inaccuracy or your business (if you own the business in question), please write to info@scegliauto.com
Number of seconds to generate the page: 0.034
(c) ScegliAuto 2026 - info@scegliauto.com - Privacy policy VAT number: IT01247470535 |
