
|
Do it yourself
| |||
| ||||



How to Install a Spoiler on the Lower Part of the Rear Bumper
Model: Honda CR-V
MK 4
- Years:
2012, 2013, 2014, 2015, 2016, 2017
Video tutorial
Here’s how to install a trim on the lower bumper of the Honda CR-V. It’s important to specify that this is just an aesthetic trim that adds a particular flair to the vehicle! Start by removing the three clips from the lower splash guard, then attach the lower trim with the clips you removed earlier. Now, mark the positions of the holes with a pin or a small drill, then remove the trim. Start with a smaller pilot hole, then proceed with a larger one. You will end up drilling 13 mm holes at the top and 8 mm at the bottom. Each time you make a hole, remove any debris that forms. Insert the nuts into the newly made holes. Now, drill the panel: the central holes will be 8 mm and the outer ones 5 mm. Then, wipe the area that will be in contact with the adhesive tape with alcohol. Remove the protective paper from the corners of the panel. Now, place the clips at the bottom and fit the bolts and screws. Remove any remaining adhesive supports and press the panel manually, ensuring that the assembly is stable.
Updated on 4 February 2026 by ScegliAuto
Related tutorials
Honda CR-V
(2012-2017 /
MK 4)
Lift the vehicle on a hydraulic lift to facilitate the installation of the air deflector under the front bumper. First, remove the two pressure clips…

Honda CR-V
(2007-2012 /
MK 3)
In this very useful video tutorial today, we will see the entire procedure necessary to remove the rear bumper of a third-generation Honda CR-V. Firs…
Honda CR-V
(2007-2012 /
MK 3)
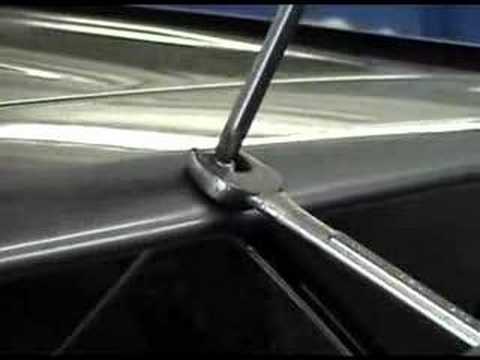
After purchasing the necessary kit, start marking, using the appropriate template, the points where the fixing holes will be drilled. Protect the bod…
Other guides you may be interested in |
How to Remove the Rear Seat of a Hyundai Tucson?
To remove the rear seat of a Hyundai Tucson, follow these steps. Start by moving the front seats to their most forward position to gain space. Next, locate the release lever on the underside of the rear seat, near the floor. Press this lever down while pulling the seat upwards to unlock it from the anchor pins. Once unlocked, tilt the seat upwards and forwards to remove it from its position. Repeat this process for both sides of the rear seat. Be careful of any electrical cables or components that may be connected to the seat during removal. Once the rear seat is removed, the disassembly is complete. by ScegliAuto More videos
|
|
For advertising on this site Write to info@scegliauto.com
ScegliAuto is not responsible for any inaccuracy of the data in the lists. To report any inaccuracy or your business (if you own the business in question), please write to info@scegliauto.com
Number of seconds to generate the page: 0.028
(c) ScegliAuto 2026 - info@scegliauto.com - Privacy policy VAT number: IT01247470535 |
