
|
Do it yourself
| |||
| ||||


Fog Light Installation
Model: Honda Accord
MK 8
- Years 2008-2013
Open the front bonnet, remove the plastic cover on the grille, and then the air ducts connected to the bumper grilles where the fog lights will be installed. Next, remove the plastic grilles on the bumper in the location for the fog lights and cut the four plastic ribs that hold the grille in place. Properly route the fog light wiring harness, bringing the respective connectors to the light locations, connecting the earth eyelet to the bonnet lock pin, and securing the wiring with ties to prevent contact with hot and moving parts that could damage it. Fit the light to its support, install the support bracket to the bumper, and then secure the light itself. Open the fuse box and make the electrical connections as per the diagram included with the installation kit. Complete the electrical connections inside the cabin by installing the fog light switch.
Updated on 6 February 2026 by ScegliAuto
Video tutorial
Related tutorials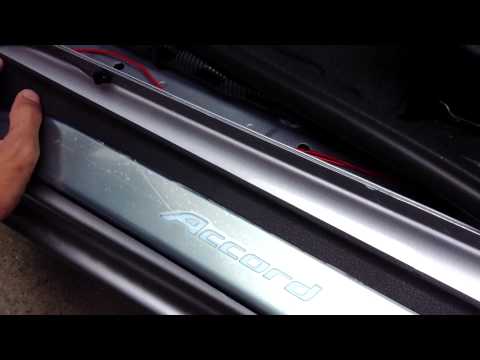
Honda Accord
(2008-2013 /
MK 8)
Installing illuminated sill strips along the inner edge of the door sill will give the vehicle a striking appearance: the operation is very simple an…
Honda Accord
(2002-2007 /
MK 7)
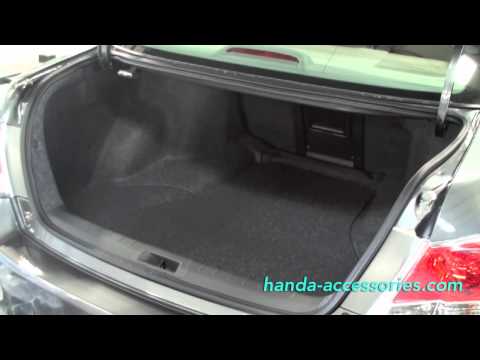
Applying a shaped mat inside the boot is a smart choice because these mats have a raised edge that helps contain any liquid spills, preserving the or…

Honda Accord
(2008-2013 /
MK 8)
If you intend to install LED lights in the footwell area, follow these useful tips: only carry out the installation yourself if you have a good basic…
Other guides you may be interested in
|
How to Replace the Battery on a Honda Vision 110
To replace the battery on a Honda Vision 110, you need to remove the front fairing of the motorcycle, located directly under the front headlamp. To loosen this panel, unscrew the two screws found at its top, just below the handlebar. Once these screws are loosened, lever under the panel to detach it, gaining access to the battery underneath: this battery must be removed from its housing by unscrewing the fixing screws and disconnecting the power cables, replacing it with a new one. by ScegliAuto More videos
|

|
For advertising on this site Write to info@scegliauto.com
ScegliAuto is not responsible for any inaccuracy of the data in the lists. To report any inaccuracy or your business (if you own the business in question), please write to info@scegliauto.com
Number of seconds to generate the page: 0.161
(c) ScegliAuto 2026 - info@scegliauto.com - Privacy policy VAT number: IT01247470535 |
