
|
Do it yourself
| |||
| ||||



Installation of Side Mud Flaps
Model: Honda CR-V
MK 2
- Years:
2002, 2003, 2004, 2005, 2006, 2007
Video tutorial
To prevent the front wheels from dirtying the vehicle during winter, it is possible to install mud flaps. For this modification, obtain the original mud flaps, then position the vehicle on a ramp and begin by removing the plastic protective caps from the existing holes. Attach paper templates to the newly exposed holes and mark the drilling points. Use a drill to make holes at the corners. Install the mud flaps following the attached instructions. Mount the supports under the body and fit the mud flaps over the supports through the newly drilled holes. Secure the mud flaps to the supports by tightening the screws located underneath.
Updated on 8 February 2026 by ScegliAuto
Related tutorials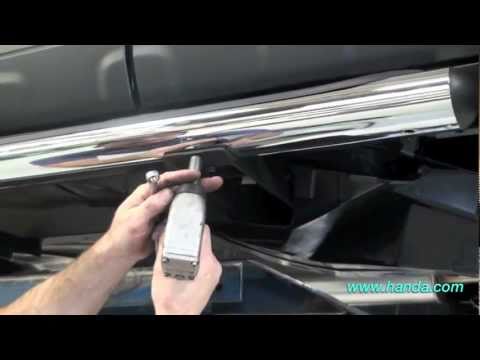
Honda CR-V
(2007-2012 /
MK 3)
Lift the vehicle on a lift and detach the plastic covers on both the right and left sides, in the central area of the vehicle, by removing the plasti…
Honda CR-V
(2007-2012 /
MK 3)
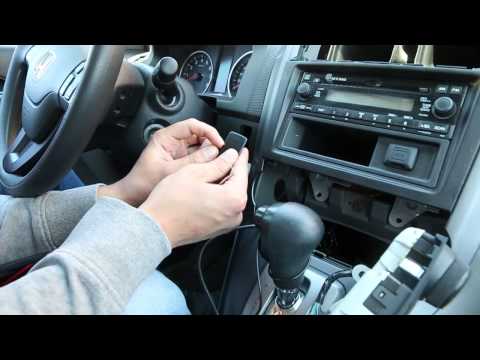
Installing a Bluetooth device adapter is straightforward and does not require special skills or tools. You must first remove the original radio to co…

Honda CR-V
(2007-2012 /
MK 3)
Along the side edges of the car roof, there are two rubber strips containing rectangular caps that need to be removed: beneath the caps are the capti…
Other guides you may be interested in
|
How to Remove the Rear Seat of a Hyundai Tucson?
To remove the rear seat of a Hyundai Tucson, follow these steps. Start by moving the front seats to their most forward position to gain space. Next, locate the release lever on the underside of the rear seat, near the floor. Press this lever down while pulling the seat upwards to unlock it from the anchor pins. Once unlocked, tilt the seat upwards and forwards to remove it from its position. Repeat this process for both sides of the rear seat. Be careful of any electrical cables or components that may be connected to the seat during removal. Once the rear seat is removed, the disassembly is complete. by ScegliAuto More videos
|
|
For advertising on this site Write to info@scegliauto.com
ScegliAuto is not responsible for any inaccuracy of the data in the lists. To report any inaccuracy or your business (if you own the business in question), please write to info@scegliauto.com
Number of seconds to generate the page: 0.039
(c) ScegliAuto 2026 - info@scegliauto.com - Privacy policy VAT number: IT01247470535 |
