
|
Do it yourself
| |||
| ||||


Coolant Replacement
Model: Honda Accord
MK 5
- Years 1993-1998
Replacing the coolant is a maintenance task that is often overlooked but is very useful for preventing rust in the cooling system. Drain the old coolant from the designated cap under the radiator and wait for the system to completely empty. To ensure it is fully drained, it is not necessary to drain the reservoir with a dipstick and sponge as shown in the video, but it is more appropriate to flush the system as follows: replace the cap on the radiator, disconnect the return pipe, start the engine, and continue to fill the reservoir with distilled water, allowing the liquid to flow out of the return pipe until it runs completely clear (also turn on the cabin heater to flush the internal radiator). Then, turn off the engine, drain the system again from the radiator cap, replace the cap, and fill the system with appropriately diluted antifreeze. Start the engine to circulate the liquid throughout the system, check that the fan is operating, and allow any trapped air to escape through the radiator cap or the designated bleed valve.
Updated on 10 February 2026 by ScegliAuto
Video tutorial
Related tutorials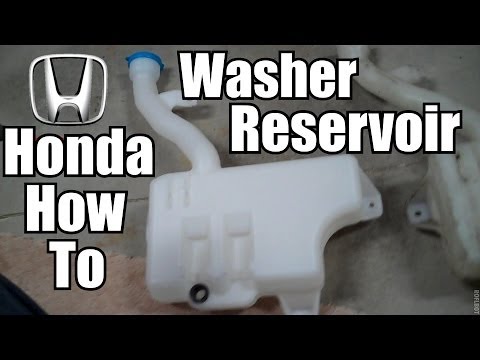
Honda Accord
(2002-2007 /
MK 7)
In this tutorial, you will see how to replace the windscreen washer fluid reservoir in a Honda Accord, a very simple operation. First, lift the front…
Honda Accord
(2002-2007 /
MK 7)
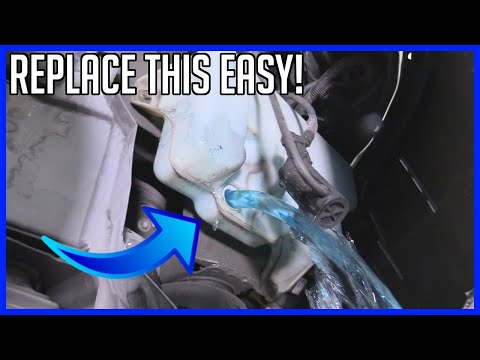
In this video tutorial, learn how to replace the windscreen washer fluid in the reservoir on the Honda Accord seventh generation, from 2002 to 2009, …

Honda Accord
(2008-2013 /
MK 8)
In this tutorial we can see how to replace the power steering pump in the Honda Accord, a very simple operation. First of all, make sure the engine i…
Other guides you may be interested in
|
How to Check the Oil Level on a Jeep Renegade?
To check the oil level on a Jeep Renegade, you need to open the bonnet to access the components inside the engine bay: on the lower left side of the engine block, you will find the dipstick for checking the level. This should be pulled out and thoroughly cleaned with a cloth: once cleaned, reinsert it back into its tube and pull it out immediately after. This way, you can check that the oil mark is between the minimum and maximum levels; finally, you can place the dipstick back in its tube. by ScegliAuto More videos
|
|
For advertising on this site Write to info@scegliauto.com
ScegliAuto is not responsible for any inaccuracy of the data in the lists. To report any inaccuracy or your business (if you own the business in question), please write to info@scegliauto.com
Number of seconds to generate the page: 0.112
(c) ScegliAuto 2026 - info@scegliauto.com - Privacy policy VAT number: IT01247470535 |
