
|
Do it yourself
| |||
| ||||



Replacement of the Dashboard Instrument Cluster
Model: Honda CR-V
MK 3
- Years:
2007, 2008, 2009, 2010, 2011, 2012
Video tutorial
Remove the panel directly under the steering wheel to disconnect the connectors of the various instruments. Now, using a Torx bit, unscrew the bolts located on the sides of the steering wheel, allowing you to remove the central part of the steering wheel. Unscrew the central bolt of the steering wheel, holding the steering wheel steady. Mark the position with a marker to keep the steering wheel straight when refitting. By gently pulling, you will be able to remove the steering wheel. Next, unscrew the bolts located on the lower part of the block behind the steering wheel. Using a plastic lever, remove the upper panel and subsequently the lower one. Unscrew the screws on the white plastic parts, and now you can also remove this block, always being careful with the connected cables; remember to disconnect them. By unscrewing the screws that hold the levers, you can replace them and then refit everything by following the steps in reverse.
Updated on 23 February 2026 by ScegliAuto
Related tutorials
Honda CR-V
(2002-2007 /
MK 2)
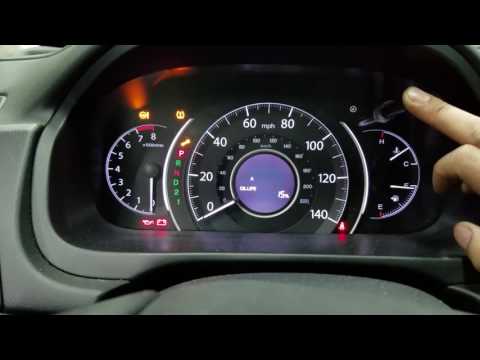
Learn how to remove the instrument cluster from a Honda CR-V. Enter the cabin and identify the plastics to be removed. Remove the cover plastics loca…
Honda CR-V
(2012-2017 /
MK 4)
To reset the Oil Service light on the Honda CR-V, turn on the ignition, ensuring that the light is actually illuminated on the dashboard. Once confir…

Honda CR-V
(2002-2007 /
MK 2)
The cabin air filter on this car model is located on the passenger side, just behind the glove compartment: to replace it, open the glove compartment…
Other guides you may be interested in
|
How to Remove the Rear Seat of a Hyundai Tucson?
To remove the rear seat of a Hyundai Tucson, follow these steps. Start by moving the front seats to their most forward position to gain space. Next, locate the release lever on the underside of the rear seat, near the floor. Press this lever down while pulling the seat upwards to unlock it from the anchor pins. Once unlocked, tilt the seat upwards and forwards to remove it from its position. Repeat this process for both sides of the rear seat. Be careful of any electrical cables or components that may be connected to the seat during removal. Once the rear seat is removed, the disassembly is complete. by ScegliAuto More videos
|
|
For advertising on this site Write to info@scegliauto.com
ScegliAuto is not responsible for any inaccuracy of the data in the lists. To report any inaccuracy or your business (if you own the business in question), please write to info@scegliauto.com
Number of seconds to generate the page: 0.033
(c) ScegliAuto 2026 - info@scegliauto.com - Privacy policy VAT number: IT01247470535 |
