
|
Do it yourself
| |||
| ||||


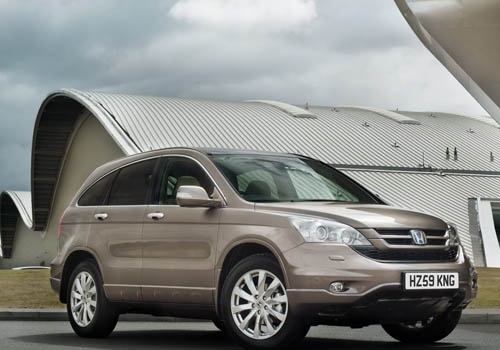
How to Replace the Front Anti-Roll Bar
Model: Honda CR-V
MK 3
- Years:
2007, 2008, 2009, 2010, 2011, 2012
Video tutorial
The process of replacing the front anti-roll bar is quite complex, but not impossible if you follow the step-by-step instructions in the video guide. First, unscrew the wheel bolts to remove the wheel using an appropriate socket. It is advisable to use a lift; then remove the tyre from the hub. Lubricate the screws to remove any rust. You can then proceed to unscrew the bolts with a 17mm socket, using a hammer if necessary. If the bolts are rusted or worn, it may be more effective to use a power tool. If the bolts are still resistant, use an oxy-acetylene torch to heat them and remove them from the mount. Finally, fit the new anti-roll bar into the designated spaces and reassemble everything with new bolts provided with the bar.
Updated on 23 February 2026 by ScegliAuto
Related tutorials
Honda CR-V
(1995-2001 /
MK 1)
If the vehicle is stiff and has lowered on the rear side, the problem lies with the torsion bar or its support, so obtain replacement parts and proce…
Honda CR-V
(2007-2012 /
MK 3)
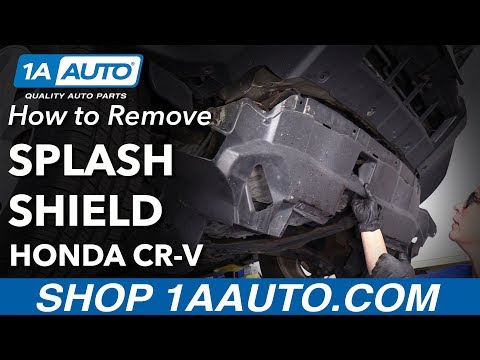
To remove and reinstall the lower splash guard, you will need to use a lift to raise the vehicle for better access and to easily locate all the screw…
Honda CR-V
(2012-2017 /
MK 4)
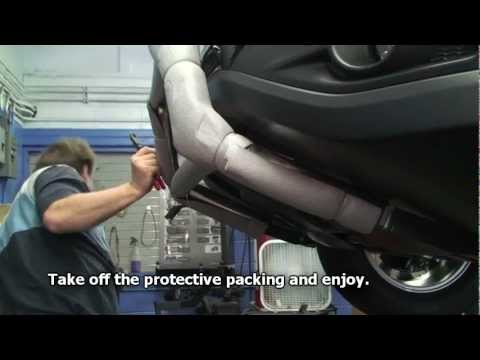
To better protect the front of the vehicle from potential damage, it is advisable to install an additional protective Bull Bar made of steel. The ope…
Other guides you may be interested in
|
How to Remove the Rear Seat of a Hyundai Tucson?
To remove the rear seat of a Hyundai Tucson, follow these steps. Start by moving the front seats to their most forward position to gain space. Next, locate the release lever on the underside of the rear seat, near the floor. Press this lever down while pulling the seat upwards to unlock it from the anchor pins. Once unlocked, tilt the seat upwards and forwards to remove it from its position. Repeat this process for both sides of the rear seat. Be careful of any electrical cables or components that may be connected to the seat during removal. Once the rear seat is removed, the disassembly is complete. by ScegliAuto More videos
|
|
For advertising on this site Write to info@scegliauto.com
ScegliAuto is not responsible for any inaccuracy of the data in the lists. To report any inaccuracy or your business (if you own the business in question), please write to info@scegliauto.com
Number of seconds to generate the page: 0.017
(c) ScegliAuto 2026 - info@scegliauto.com - Privacy policy VAT number: IT01247470535 |
