
|
Do it yourself
| |||
| ||||


How to repair the parking sensors of the Hyundai Atos Prime
Model: Hyundai Atos
MK 2
- Years:
2011, 2012, 2013, 2014, 2015, 2016, 2017, 2018, 2019, 2020, 2021, 2022
Video tutorial
In this video we see how it is possible to repair parking sensors that no longer emit any sound. In this case it is a Hyundai Atos Prime, but conceptually the system is replicable on all cars of this type. The control unit is located in the trunk plastics; the first problem could be a power supply issue; a cable may be damaged or disconnected. Then with an ammeter we will have to verify that the control unit is actually working. Another problem is the low-quality speaker, which suddenly stops working: it is also one of the simplest and cheapest things to solve. We can find it on funzion.it with the code RCM808F-4 at a price of 9.54 euros, free shipping. We replace it with the faulty one by connecting it with heat shrink tubing. We put everything back in its place and the job is done.
Posted on 30 June 2025 by ScegliAuto
Related tutorials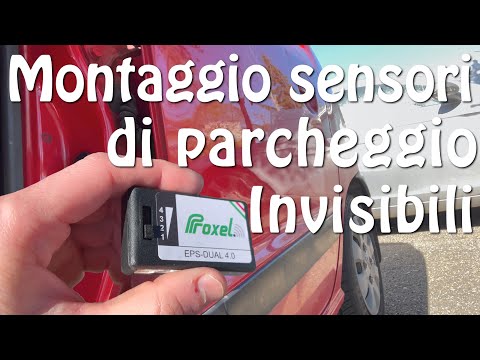
Hyundai Atos
(1997-2008 /
MK 1)
To install the electromagnetic parking sensors on a Hyundai Atos, you need to loosen the screws that secure the rear bumper so that it can be complet…

Hyundai Atos
(1997-2008 /
MK 1)
This guide shows how to locate and replace the fuel filter on the Hyundai Atos Prime Mk1. The first step is to safely lift the vehicle. From undernea…

Hyundai Atos
(1997-2008 /
MK 1)
Before you begin, remove the oil dipstick, then put the car in first gear and engage the handbrake on your Hyundai Atos. Finally, lift the vehicle. S…
Other guides you may be interested in
|
How to Remove the Rear Seat of a Hyundai Tucson?
To remove the rear seat of a Hyundai Tucson, follow these steps. Start by moving the front seats to their most forward position to gain space. Next, locate the release lever on the underside of the rear seat, near the floor. Press this lever down while pulling the seat upwards to unlock it from the anchor pins. Once unlocked, tilt the seat upwards and forwards to remove it from its position. Repeat this process for both sides of the rear seat. Be careful of any electrical cables or components that may be connected to the seat during removal. Once the rear seat is removed, the disassembly is complete. by ScegliAuto More videos
|
|
For advertising on this site Write to info@scegliauto.com
ScegliAuto is not responsible for any inaccuracy of the data in the lists. To report any inaccuracy or your business (if you own the business in question), please write to info@scegliauto.com
Number of seconds to generate the page: 0.018
(c) ScegliAuto 2026 - info@scegliauto.com - Privacy policy VAT number: IT01247470535 |
