
|
Do it yourself
| |||
| ||||


How to Clean the Air Conditioning Grilles on Hyundai Santro
Model: Hyundai Santro
MX
- Years 1998-2015
Cleaning the air conditioning ducts of your Hyundai Santro is definitely a good idea: you pay a lot of attention to keeping it clean on the outside and then breathe air that passes through the same grilles for 20 years. Here’s how to do it: first, remove the grilles by rotating them and then pulling them out. Once you have removed them all, place them in a basin and wash them with water and mild soap, soaking them for a while. Then wash them with a sponge, making sure to get into the fins. Finish the job with an old toothbrush to rinse them well. Dry them thoroughly. Now clean the housings where they will be reinstalled, but avoid getting the ducts wet. Now it’s time to put the grilles back in place: rotate them and secure them. Great job.
Updated on 11 June 2026 by ScegliAuto
Video tutorial
Related tutorials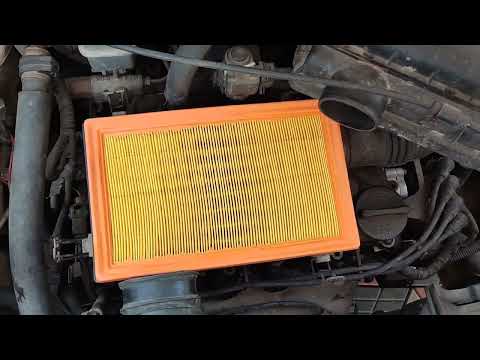
Hyundai Santro
(1998-2015 /
MX)
If you want to independently replace the air filter located in the engine compartment of your Hyundai Santro Mk1, just carefully read the instruction…
Hyundai Santro
(2018-2025 /
MK 3)
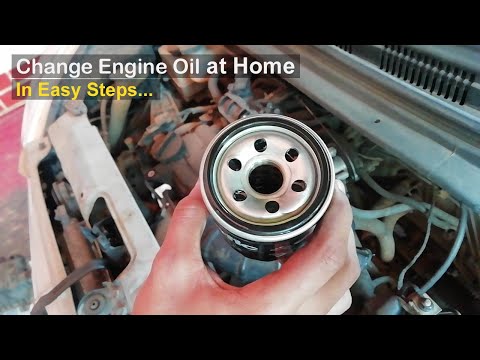
This guide shows how to change the engine oil and filter for the Hyundai Santro Mk3. First, secure the vehicle and open the oil filler cap. From unde…

Hyundai Santro
(2018-2025 /
MK 3)
In this tutorial, you will see how to replace the wiper control lever in the Hyundai Santro, a very simple operation. First, ensure that the key is n…
Other guides you may be interested in
|
How to Remove the Front Bumper of the Citroën C4 Picasso?
To remove the front bumper of the Citroën C4 Picasso, you need to take out all the rivets and screws that secure the piece to its housing: these screws are located inside the wheel arches of the front wheels and at the central upper part of the bumper itself. Once all these fastening elements have been removed, you can detach the bumper from its seat by disconnecting the connectors inside and then insert the new replacement part. The new part can then be secured and connected properly, ensuring it is correctly fixed in place. by ScegliAuto More videos
|
|
For advertising on this site Write to info@scegliauto.com
ScegliAuto is not responsible for any inaccuracy of the data in the lists. To report any inaccuracy or your business (if you own the business in question), please write to info@scegliauto.com
Number of seconds to generate the page: 0.194
(c) ScegliAuto 2026 - info@scegliauto.com - Privacy policy VAT number: IT01247470535 |
