
|
Do it yourself
| |||
| ||||


Replacement of Bearing and CV Joint
Model: Jeep Grand Cherokee
MK 2, WJ
- Years 1998-2004
Lift the vehicle at the wheel where the repair will be made, apply a suitable axle stand, and remove the wheel.
Remove the safety clip from the fixing nut of the driveshaft at the hub (36 mm nut) and remove any spacer flange. Remove the brake caliper and brake disc, and the 13 mm bolt that secures the hub to the steering knuckle. Unscrew the 36 mm nut and slide the hub with the bearing off the driveshaft; then slide out the complete driveshaft with the CV joint. Release the retaining clip of the gaiter to remove it; detach the old CV joint from the driveshaft and replace it with the new (or refurbished) one, repositioning the gaiter. Reassemble the driveshaft with the new joint and then the support with the new bearing and hub. Finally, reassemble the brake disc and caliper, reapply the spacer flange and the wheel.
Updated on 3 February 2026 by ScegliAuto
Video tutorial
Related tutorials
Jeep Grand Cherokee
(2010-2021 /
WK2, MK 4)
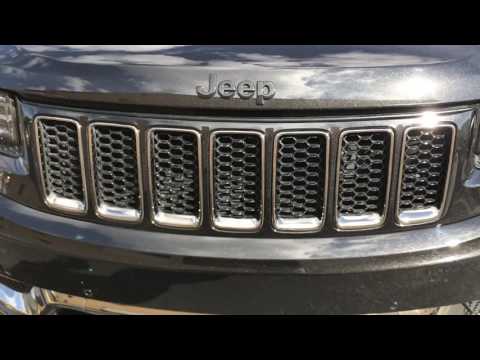
Today we will see the instructions for disassembling and replacing the bulbs of the front headlights of the Jeep Grand Cherokee. First, open the hood…
Jeep Grand Cherokee
(2010-2021 /
WK2, MK 4)
Replacing the battery on a Jeep Grand Cherokee? Remove the old battery and install a new one. Open the car door and move the passenger seat forward. …

Jeep Grand Cherokee
(2004-2010 /
WK, MK 3, WH)
If you need to replace the window regulator mechanism on your vehicle, specifically the frame and electric motor, follow the instructions below. Firs…
Other guides you may be interested in
|
How to Check the Oil Level on a Jeep Renegade?
To check the oil level on a Jeep Renegade, you need to open the bonnet to access the components inside the engine bay: on the lower left side of the engine block, you will find the dipstick for checking the level. This should be pulled out and thoroughly cleaned with a cloth: once cleaned, reinsert it back into its tube and pull it out immediately after. This way, you can check that the oil mark is between the minimum and maximum levels; finally, you can place the dipstick back in its tube. by ScegliAuto More videos
|
|
For advertising on this site Write to info@scegliauto.com
ScegliAuto is not responsible for any inaccuracy of the data in the lists. To report any inaccuracy or your business (if you own the business in question), please write to info@scegliauto.com
Number of seconds to generate the page: 0.446
(c) ScegliAuto 2026 - info@scegliauto.com - Privacy policy VAT number: IT01247470535 |
