
|
Do it yourself
| |||
| ||||


|
It is recommended to carry out this repair only if you have good mechanical knowledge, as it requires disassembling the gearbox and installing the kit with great precision: a small installation error can cause damage. Lift the vehicle on a hydraulic lift and first remove the driveshaft from the gearbox side, the clutch cable, and then the gearbox itself until you access the clutch. Unscrew the bolts securing the clutch release bearing, then remove the clutch disc and proceed to remove the flywheel. Install the new flywheel, ensuring it is perfectly centred, clean the surface thoroughly of any oil residue, and install the disc with the corresponding release bearing (use a dowel for centring). Finally, replace the thrust bearing inside the gearbox bell housing before installing it.
Updated on 7 February 2026 by ScegliAuto
Video tutorial
Related tutorials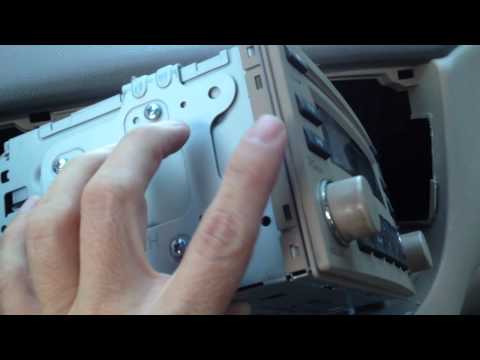
Kia Rio
(2005-2011 /
DE, MK 2)
Using a plastic tool to avoid damaging the bodywork, lever around the car radio's trim to disengage the plastic clips to access the console retaining…
Kia Rio
(2011-2017 /
UB, MK 3)
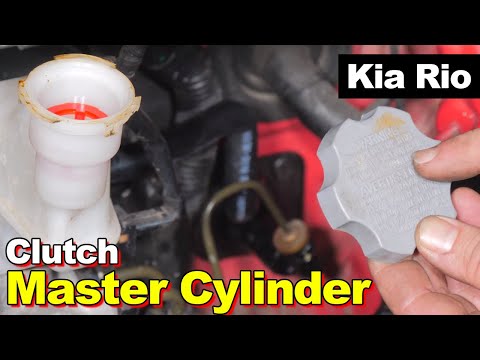
Lift the bonnet and remove the battery; at the back of the battery, there is a panel to remove by unscrewing the bolts that hold it in place and disc…

Kia Rio
(2000-2005 /
DC, MK 1)
In this guide, we will see the instructions for removing and replacing the thermostat assembly on a Kia Rio. First, lift the vehicle and start by dis…
Other guides you may be interested in
|
How to replace the horn on a Renault Duster - Dacia Duster
Today's main instructions will show you the procedure for removing and replacing the horn or sound signal on the Renault Duster, as well as the Dacia Duster. First, open the bonnet of the vehicle and start removing the front bumper by unscrewing all the fixing screws; you will find the horn right in front of the radiator, as shown in the video. At this point, disconnect the electrical connector and unscrew the bracket screw to remove and replace the horn with the new one; finally, reassemble the front bumper! by ScegliAuto More videos
|
|
For advertising on this site Write to info@scegliauto.com
ScegliAuto is not responsible for any inaccuracy of the data in the lists. To report any inaccuracy or your business (if you own the business in question), please write to info@scegliauto.com
Number of seconds to generate the page: 0.190
(c) ScegliAuto 2026 - info@scegliauto.com - Privacy policy VAT number: IT01247470535 |
