
|
Do it yourself
| |||
| ||||


Replacing the Radiator Antifreeze
Model: Kia Rio
DC, MK 1
- Years:
2000, 2001, 2002, 2003, 2004, 2005
Video tutorial
Lift the vehicle and secure it. Before proceeding, open the radiator cap. Using the appropriate key, remove the cap located under the radiator, then place a container under the vehicle to collect the used coolant. Allow all the fluid to drain completely. Replace the lower cap and fill the radiator with new fluid up to the level indicated on the expansion tank. Start the engine and run it until the thermostat valve opens. When the engine is cold, top up the fluid if necessary. Antifreeze is a chemical product and should not be disposed of in the environment but taken to designated collection and disposal centres.
Updated on 7 February 2026 by ScegliAuto
Related tutorials
Kia Rio
(2000-2005 /
DC, MK 1)
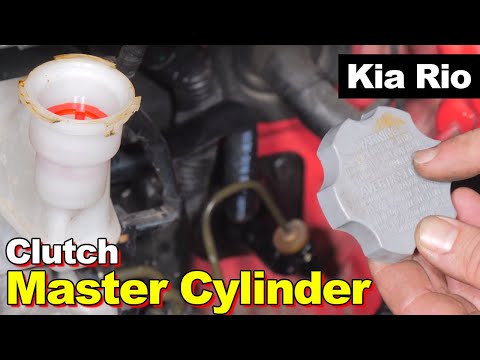
In this guide, we will see the instructions for removing and replacing the thermostat assembly on a Kia Rio. First, lift the vehicle and start by dis…
Kia Rio
(2011-2017 /
UB, MK 3)
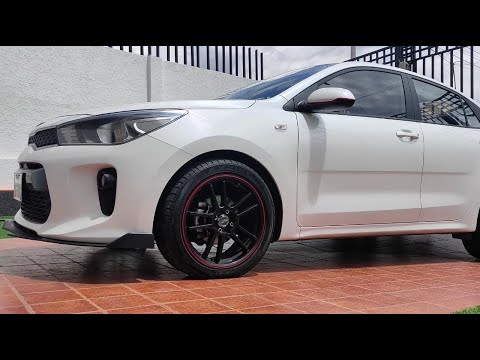
Lift the bonnet and remove the battery; at the back of the battery, there is a panel to remove by unscrewing the bolts that hold it in place and disc…
Kia Rio
(2016-2023 /
MK 4, SC, YB)
In this video, see where various sensors and actuators are located in the Kia Rio MK4: The TPS (Throttle Position Sensor) is connected to the throttl…
Other guides you may be interested in
|
How to Reset the Tyre Light on a Toyota Aygo?
To reset the tyre light on a Toyota Aygo, start by locating the reset button, which is found in the glove compartment of the front passenger side. Turn on the car and ensure that the tyres are at the correct pressure. Then, press and hold the reset button for a few seconds until the tyre light either flashes or turns off, depending on the model. Release the button and wait for the reset procedure to complete. Restart your Toyota Aygo and check if the tyre light has turned off, indicating that the reset was successful. by ScegliAuto More videos
|
|
For advertising on this site Write to info@scegliauto.com
ScegliAuto is not responsible for any inaccuracy of the data in the lists. To report any inaccuracy or your business (if you own the business in question), please write to info@scegliauto.com
Number of seconds to generate the page: 0.090
(c) ScegliAuto 2026 - info@scegliauto.com - Privacy policy VAT number: IT01247470535 |
