
|
Do it yourself
| |||
| ||||


How to open the hood on a Range Rover Vogue
Model: Land Rover Range Rover
L460
- Years 2022-2026
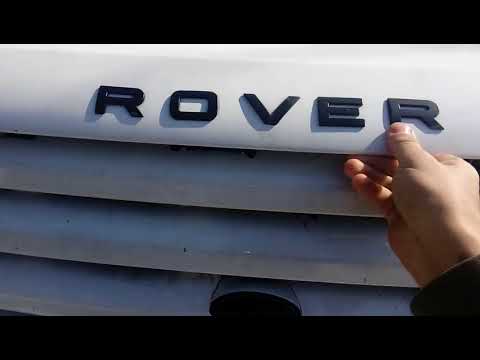
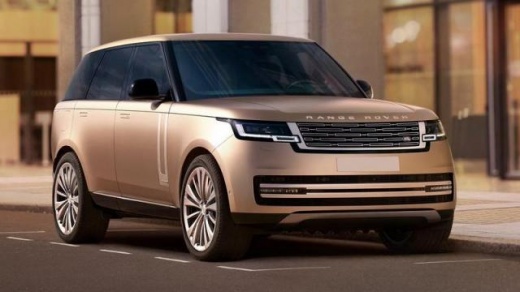
In this video we see how to open the hood of a Range Rover Vogue: We need to go to the left door, which will be the driver's door for left-hand drive vehicles, or the passenger's door for right-hand drive vehicles. Under the dashboard we will find a lever that we need to pull towards us: we will hear a characteristic "clang" which means that the hood has opened. Now we go to the front of the car, where we will find a small lever between the "E" and "R" of the Range Rover logo, and lift the hood, which will stay open by itself, being a hydraulic hood, and underneath we find the magnificent Land Rover engine. To close it, just pull down and press with your hand, always between the letters "E" and "R".
Posted on 13 September 2024 by ScegliAuto
Video tutorial
Related tutorials
Land Rover Range Rover
(2012-2021 /
MK 2)
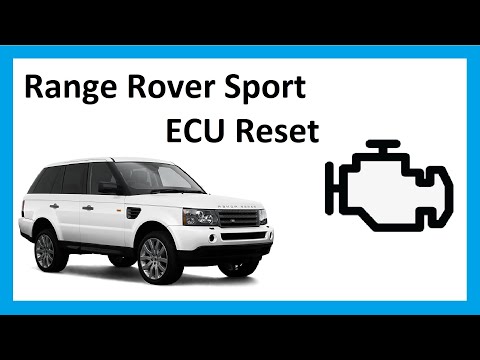
Let's see in this video how to check the oil level on the Range Rover Sport: open the hood and turn on the instrument cluster, but do not start the e…
Land Rover Range Rover
(2002-2012 /
L322, MK 3)
Is the battery on your Range Rover Sport damaged? Remove the damaged battery from under the hood. Open the car door and disengage the hood release le…
Land Rover Range Rover
(2002-2012 /
L322, MK 3)
Is the trunk of your Range Rover not opening? Let's see how to unlock the release lever. Pull the lever located at the bottom left of the dashboard, …
Other guides you may be interested in
|
Where is the Spare Wheel in the Peugeot 5008?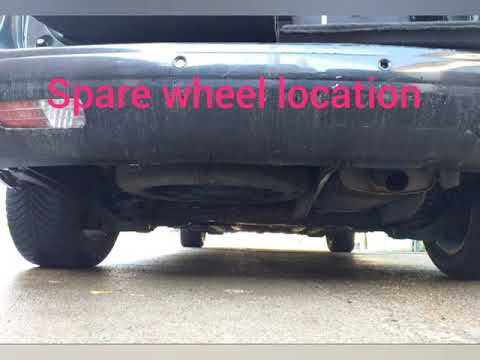
This video shows where the spare wheel is located in the Peugeot 5008 and how to access it, useful in case of a puncture. As shown, the wheel is not in the usual boot compartment but underneath it, outside the vehicle. To free the wheel, first gather the tools provided, then open the boot, locate the small indicated hatch, and open it. Next, loosen the bolt just released using the large socket wrench enough to lower the wheel to the ground. by ScegliAuto More videos
|
|
For advertising on this site Write to info@scegliauto.com
ScegliAuto is not responsible for any inaccuracy of the data in the lists. To report any inaccuracy or your business (if you own the business in question), please write to info@scegliauto.com
Number of seconds to generate the page: 0.072
(c) ScegliAuto 2026 - info@scegliauto.com - Privacy policy VAT number: IT01247470535 |
