
|
Do it yourself
| |||
| ||||


Removing the Car Radio for Repair
Model: Land Rover Freelander
Freelander 1
- Years 1997-2006
To remove the car radio from the console, carefully unscrew the retaining screws of the trim located at the sides of the radio. Remove the car radio and disconnect all the electrical wiring connectors. For the installation of the repaired new radio, reconnect the connectors at the back of the radio and place it back in the slot carefully. If replacing with a different model, remove the old additional wiring and install the wiring supplied with the new car radio, paying attention to the references. Connect the reducer to the antenna cable with the new connector. Reconnect the cables to the car radio by inserting the relevant connectors and introduce the radio into its slot, taking great care not to pinch the cables until it is secured. Turn on the radio and tune to a station to verify its proper functioning.
Updated on 7 February 2026 by ScegliAuto
Video tutorial
Related tutorials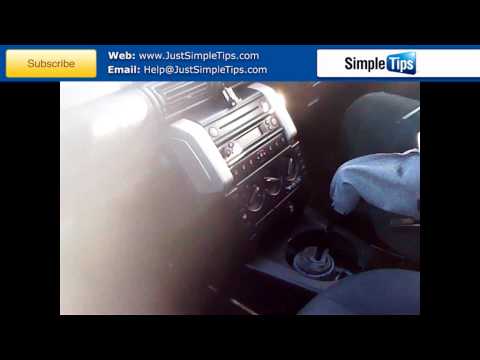
Land Rover Freelander
(1997-2006 /
Freelander 1)
To remove the car radio from the console, carefully unscrew the retaining screws of the fascia located at the sides of the radio. Remove the radio an…
Land Rover Freelander
(1997-2006 /
Freelander 1)
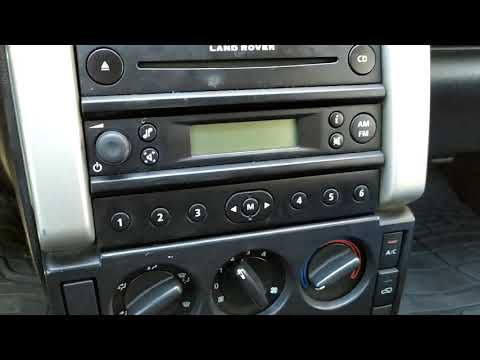
Before you can start, sit in the driver's seat of your Land Rover Freelander. Begin by unclipping and removing the cover located on the top of the ca…
Land Rover Freelander
(2006-2016 /
Freelander 2)
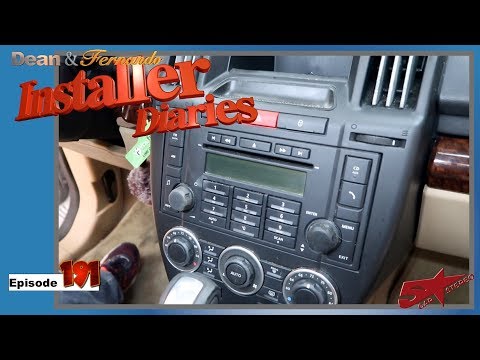
How do you remove the original radio on a Land Rover Freelander 2? Carefully follow these steps for disassembly. Unscrew the screws on the centre con…
Other guides you may be interested in
|
Fuses Location and Diagram for the Volkswagen Crafter
In this guide, we will look at the location of the fuse boxes and how to find their diagram for the Volkswagen Crafter. First, get inside the vehicle and start by removing the plastic cover found under the steering wheel, to access the internal fuse box; you will find another fuse box in the engine compartment by removing the plastic cover located next to the battery. At this point, use the owner's manual to find the fuse diagram, which will allow you to identify and replace any blown fuses with new ones! by ScegliAuto More videos
|
|
For advertising on this site Write to info@scegliauto.com
ScegliAuto is not responsible for any inaccuracy of the data in the lists. To report any inaccuracy or your business (if you own the business in question), please write to info@scegliauto.com
Number of seconds to generate the page: 0.058
(c) ScegliAuto 2026 - info@scegliauto.com - Privacy policy VAT number: IT01247470535 |
