
|
Do it yourself
| |||
| ||||


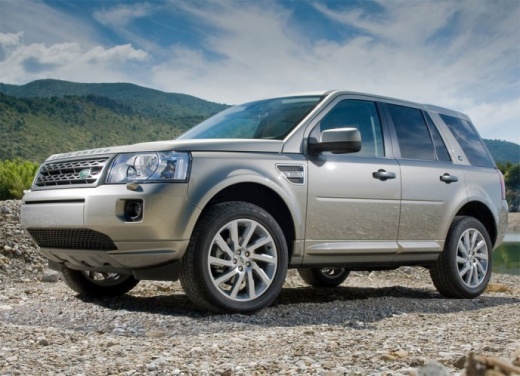
How to Remove the Original Radio from a Land Rover Freelander 2
Model: Land Rover Freelander
Freelander 2
- Years:
2006, 2007, 2008, 2009, 2010, 2011, 2012, 2013, 2014, 2015, 2016
Video tutorial
How do you remove the original radio to install a DVD player in a Land Rover Freelander 2? Follow these steps carefully. Use a screwdriver to remove the screws on the centre console as shown in the video. Then, using a plastic or metal lever, pry off the central trim of the console. Detach the frame from the dashboard and remove the plastic glove compartment located above it along with the original radio (disconnect the various power cables). Finally, install the DVD radio in the console using the appropriate frame adapter and power connector.
Updated on 27 February 2026 by ScegliAuto
Related tutorials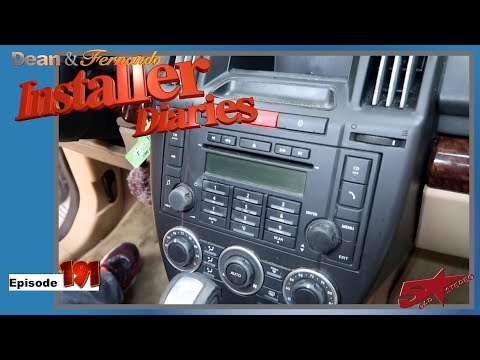
Land Rover Freelander
(2006-2016 /
Freelander 2)
How do you remove the original radio on a Land Rover Freelander 2? Carefully follow these steps for disassembly. Unscrew the screws on the centre con…
Land Rover Freelander
(2006-2016 /
Freelander 2)
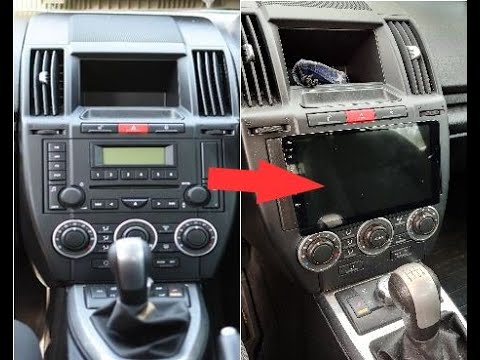
Replacing the original radio in your Land Rover Freelander 2 with a more modern and functional one is quite straightforward. You won't need any speci…
Land Rover Freelander
(2006-2016 /
Freelander 2)
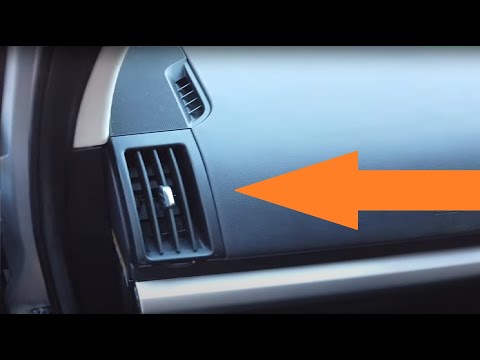
This video tutorial shows how to remove the air vents in a Land Rover Freelander 2. First, remove and extract the plastic panels located at the sides…
Other guides you may be interested in
|
How to Remove the Rear Seat of a Hyundai Tucson?
To remove the rear seat of a Hyundai Tucson, follow these steps. Start by moving the front seats to their most forward position to gain space. Next, locate the release lever on the underside of the rear seat, near the floor. Press this lever down while pulling the seat upwards to unlock it from the anchor pins. Once unlocked, tilt the seat upwards and forwards to remove it from its position. Repeat this process for both sides of the rear seat. Be careful of any electrical cables or components that may be connected to the seat during removal. Once the rear seat is removed, the disassembly is complete. by ScegliAuto More videos
|
|
For advertising on this site Write to info@scegliauto.com
ScegliAuto is not responsible for any inaccuracy of the data in the lists. To report any inaccuracy or your business (if you own the business in question), please write to info@scegliauto.com
Number of seconds to generate the page: 0.019
(c) ScegliAuto 2026 - info@scegliauto.com - Privacy policy VAT number: IT01247470535 |
