
|
Do it yourself
| |||
| ||||


Removal of the Car Radio for Repair
Model: Land Rover Freelander
Freelander 1
- Years:
1997, 1998, 1999, 2000, 2001, 2002, 2003, 2004, 2005, 2006
Video tutorial
To remove the car radio from the console, carefully unscrew the retaining screws of the fascia located at the sides of the radio. Remove the radio and disconnect all the electrical wiring connectors. For the installation of the repaired new radio, reconnect the connectors at the back of the radio and carefully place it back into the slot. If replacing with a different model, remove the old additional wiring and install the wiring supplied with the new radio, paying attention to the references. Connect the reducer to the antenna cable with the new connector. Reconnect the cables to the radio by inserting the respective connectors and introduce the radio into its slot, taking care not to pinch the cables until it is secured. Turn on the radio and tune into a station to check its proper functioning.
Updated on 8 February 2026 by ScegliAuto
Related tutorials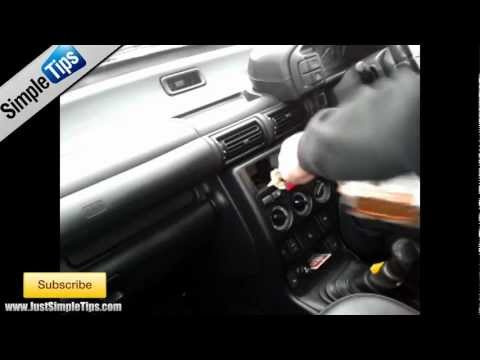
Land Rover Freelander
(1997-2006 /
Freelander 1)
To remove the car radio from the console, carefully unscrew the retaining screws of the trim located at the sides of the radio. Remove the car radio …
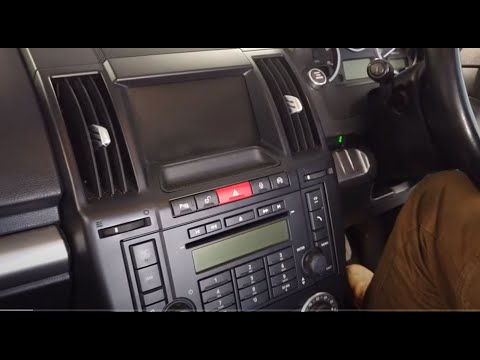
Land Rover Freelander
(2006-2016 /
Freelander 2)
Want to remove the radio screen from the Freelander 2? Follow these steps to disassemble all parts of the centre console. Remove the upper cover of t…
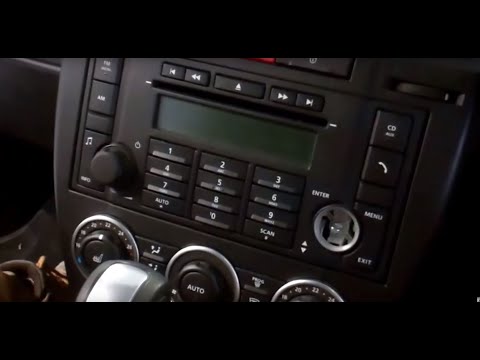
Land Rover Freelander
(2006-2016 /
Freelander 2)
Watch this video to learn how to remove the dashboard panel while extracting the original Land Rover radio. First, remove the front cover of the dash…
Other guides you may be interested in |
How to Remove the Rear Seat of a Hyundai Tucson?
To remove the rear seat of a Hyundai Tucson, follow these steps. Start by moving the front seats to their most forward position to gain space. Next, locate the release lever on the underside of the rear seat, near the floor. Press this lever down while pulling the seat upwards to unlock it from the anchor pins. Once unlocked, tilt the seat upwards and forwards to remove it from its position. Repeat this process for both sides of the rear seat. Be careful of any electrical cables or components that may be connected to the seat during removal. Once the rear seat is removed, the disassembly is complete. by ScegliAuto More videos
|
|
For advertising on this site Write to info@scegliauto.com
ScegliAuto is not responsible for any inaccuracy of the data in the lists. To report any inaccuracy or your business (if you own the business in question), please write to info@scegliauto.com
Number of seconds to generate the page: 0.012
(c) ScegliAuto 2026 - info@scegliauto.com - Privacy policy VAT number: IT01247470535 |
