
|
Do it yourself
| |||
| ||||


Removing the Door Panel on a Freelander
Model: Land Rover Freelander
Freelander 1
- Years 1997-2006
Do you want to remove the door panel? This operation is not too complicated; let’s see how. Here’s how to take off the panel from the top of the door on a Freelander. Disconnect the battery terminals located in the designated compartment, and remove the plastic covers from the internal handle. Unscrew the screws for the upper door release lever and the screws on the internal handle. Unscrew the screws on the sides of the door panel and detach the retaining clips. Take off the panel and disconnect it from the door (unplug the power wiring and the release cable). Fit the new cover panel at the end of the maintenance.
Updated on 23 April 2026 by ScegliAuto
Video tutorial
Related tutorials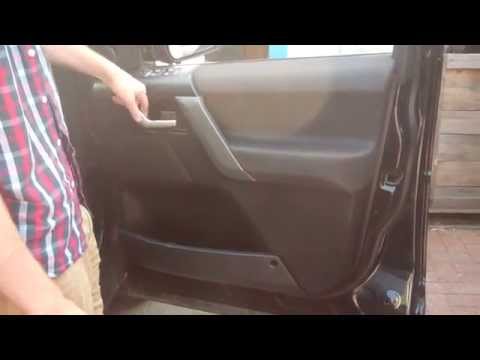
Land Rover Freelander
(2006-2016 /
Freelander 2)
Before starting, open the front door of your Land Rover Freelander. Begin by disengaging and removing the inserts and screw covers on the door panel …
Land Rover Freelander
(2006-2016 /
Freelander 2)
To remove the right front door panel on the Land Rover Freelander 2, disconnect the battery terminals located in the engine bay. Using a screwdriver,…
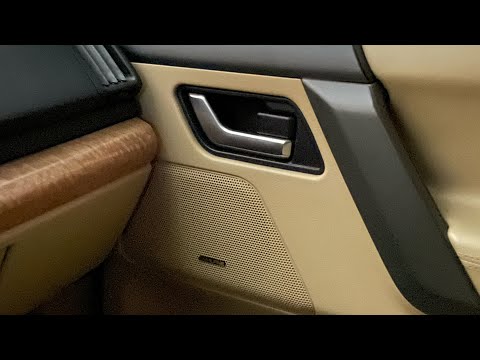
Land Rover Freelander
(2006-2016 /
Freelander 2)
In this tutorial, you will learn how to remove the front door panel on the Land Rover Freelander 2, a very simple and quick operation. First, open th…
Other guides you may be interested in
|
Fuses Location and Diagram for the Volkswagen Crafter
In this guide, we will look at the location of the fuse boxes and how to find their diagram for the Volkswagen Crafter. First, get inside the vehicle and start by removing the plastic cover found under the steering wheel, to access the internal fuse box; you will find another fuse box in the engine compartment by removing the plastic cover located next to the battery. At this point, use the owner's manual to find the fuse diagram, which will allow you to identify and replace any blown fuses with new ones! by ScegliAuto More videos
|
|
For advertising on this site Write to info@scegliauto.com
ScegliAuto is not responsible for any inaccuracy of the data in the lists. To report any inaccuracy or your business (if you own the business in question), please write to info@scegliauto.com
Number of seconds to generate the page: 0.092
(c) ScegliAuto 2026 - info@scegliauto.com - Privacy policy VAT number: IT01247470535 |
