
|
Do it yourself
| |||
| ||||


Installing LED Strips in Your Car
Model: Land Rover Discovery
L318, Discovery 2, MK 2
- Years:
1998, 1999, 2000, 2001, 2002, 2003, 2004
Video tutorial
Easy to install and versatile in applications, LED strips are a practical and original lighting solution. They are used not only as decorative elements but also as a lighting system because they are easy to install due to their simple connection. Once connected to a power supply, the LED strip will receive an electrical impulse, allowing the chips to illuminate. Inside, they have a semiconductor that will light up the chip as soon as the electrical current is received. Installation and mounting are quite simple: generally, LED strips have an adhesive on the back that, once removed, allows you to stick it to a profile or any other surface.
Updated on 21 February 2026 by ScegliAuto
Related tutorials
Land Rover Discovery
(1998-2004 /
L318, Discovery 2, MK 2)
Installing additional fog lights on an SUV is certainly a very useful accessory for both enhancing appearance and perfectly illuminating any off-road…

Land Rover Discovery
(1998-2004 /
L318, Discovery 2, MK 2)
Mount the light bar on the roof of the vehicle, above the two grab handles. First, connect the power wires of the bar (included in the kit) to the ca…
Land Rover Discovery
(2004-2010 /
LR3, L319, Discovery 3, MK 3)
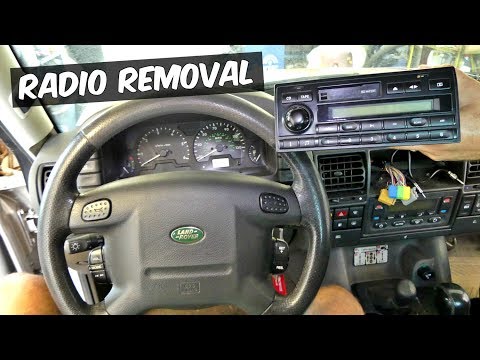
Before proceeding with the removal of the factory car stereo, ensure you have the unlock code needed for reactivation. To extract the original stereo…
Other guides you may be interested in |
How to Remove the Rear Seat of a Hyundai Tucson?
To remove the rear seat of a Hyundai Tucson, follow these steps. Start by moving the front seats to their most forward position to gain space. Next, locate the release lever on the underside of the rear seat, near the floor. Press this lever down while pulling the seat upwards to unlock it from the anchor pins. Once unlocked, tilt the seat upwards and forwards to remove it from its position. Repeat this process for both sides of the rear seat. Be careful of any electrical cables or components that may be connected to the seat during removal. Once the rear seat is removed, the disassembly is complete. by ScegliAuto More videos
|
|
For advertising on this site Write to info@scegliauto.com
ScegliAuto is not responsible for any inaccuracy of the data in the lists. To report any inaccuracy or your business (if you own the business in question), please write to info@scegliauto.com
Number of seconds to generate the page: 0.019
(c) ScegliAuto 2026 - info@scegliauto.com - Privacy policy VAT number: IT01247470535 |
