
|
Do it yourself
| |||
| ||||


How the Lexus Tyre Pressure Monitoring System Works
Model: Lexus Lexus Various
In this video, we will see how the Lexus tyre monitoring system works: the four sensors (one for each wheel) constantly send a radio signal with pressure and temperature data. Consequently, the control module receives this data. An ECU compares it with the preset pressure values recommended by Lexus (which we find on the label attached to the driver’s door pillar). If the pressure drops below a critical threshold, the computer lights up a warning light on the dashboard. A steady light indicates that one or more tyres have low pressure, so you need to stop and check; a flashing light indicates a fault in the TPMS itself, meaning there is no problem with the tyres, possibly a battery in one of the sensors is dead, or a sensor is damaged, or the reception module has failed. This should be checked as soon as possible.
Posted on 29 March 2026 by ScegliAuto
Video tutorial
Related tutorials
Lexus Lexus Various
Today, we will discover the instructions to reset the tyre pressure warning light on the Lexus LX; before resetting the TPMS sensors, ensure all four…

Lexus Lexus Various
In this tutorial, you will see how to reset the tyre light on a Lexus LX 570, a very simple and quick operation to perform only once the correct pres…
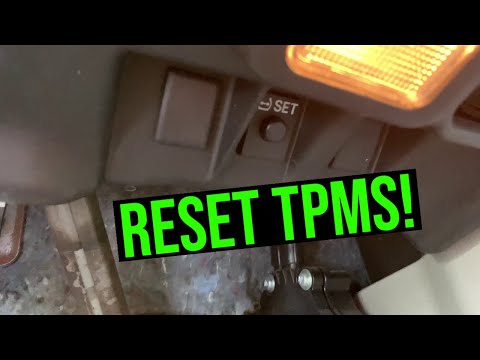
Lexus Lexus Various
In this tutorial, you will learn how to reset the tyre warning light on the Lexus RX, a very simple and quick operation. Before proceeding, ensure yo…
Other guides you may be interested in
|
How to Bleed the Clutch on a Renault Clio?
To bleed the clutch on a Renault Clio, open the bonnet to access the components located in the engine bay: here, you will need to undo the screws that secure the battery in its housing, the intake manifold, and the coolant reservoir. This will allow you to locate the pipe through which the brake fluid flows: by inserting the other end of the pipe into a container, you can press the clutch pedal to expel all the fluid until it fills the container. by ScegliAuto More videos
|
|
For advertising on this site Write to info@scegliauto.com
ScegliAuto is not responsible for any inaccuracy of the data in the lists. To report any inaccuracy or your business (if you own the business in question), please write to info@scegliauto.com
Number of seconds to generate the page: 0.123
(c) ScegliAuto 2026 - info@scegliauto.com - Privacy policy VAT number: IT01247470535 |
