
|
Do it yourself
| |||
| ||||



How to replace the auxiliary belt of the Mazda MX5
Model: Mazda Mx 5
MK 3, NC
- Years:
2005, 2006, 2007, 2008, 2009, 2010, 2011, 2012, 2013, 2014, 2015
Video tutorial
In this video, we see how to replace the auxiliary belt of a Mazda MX5: we start by opening the front hood and then removing the starter battery, which is located in the front part of the hood. We remove the plastic cover and then remove the negative pole first, then the positive one and the holding bracket. Now we can remove the battery and unscrew the base from the bottom. To make space, we will remove the air filter, the collector that brings air to the filter, and disconnect the electrical connector. Now we see the belt, and if we intend to reuse it, we mark the direction of rotation. With a suitable wrench, we rotate the tensioner clockwise to release tension from the belt and slide it off the pulleys, of which we will check the functionality. We install the new belt, making it rotate around the tensioner pulley. Now we reassemble the air filter with its collector, and the electrical connector. We reassemble the battery base, then the battery itself, connect the two poles starting with the positive one and then put back the cover. Operation completed.
Posted on 29 September 2025 by ScegliAuto
Related tutorials
Mazda Mx 5
(2015-2024 /
MK 4, ND)
If it is time to replace the engine air filter of your Mazda MX5 (year 2017), but you do not know how to do it, then all you need to do is carefully …
Mazda Mx 5
(1998-2005 /
MK 2, NB)
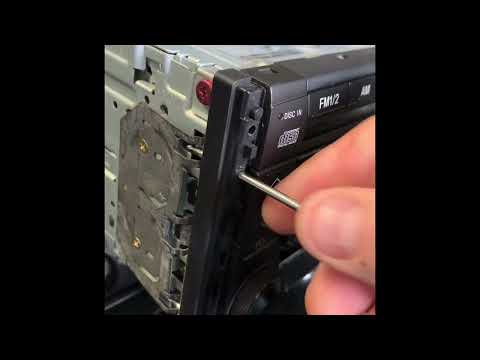
In this mini guide dedicated to your 2002 Mazda MX5 Miata, you will discover how to quickly and correctly remove the standard radio. First, obtain me…

Mazda Mx 5
(2015-2024 /
MK 4, ND)
To complete the manual reset of the service light on your latest model Mazda MX5, you must follow all the steps described in the following guide addr…
Other guides you may be interested in
|
How to Reset the Tyre Pressure Warning Light on a Kia Ceed
This brief and simple guide will show you how to reset the tyre pressure warning light (TPMS) on a Kia Ceed. Before performing the reset, ensure all four tyres are at the correct operating pressure. Get inside the vehicle and turn on the ignition. Locate the reset button on the dashboard, next to the steering wheel, as shown in the video. Press and hold the TPMS reset button until the warning light blinks on the dashboard and then goes out completely! by ScegliAuto More videos
|
|
For advertising on this site Write to info@scegliauto.com
ScegliAuto is not responsible for any inaccuracy of the data in the lists. To report any inaccuracy or your business (if you own the business in question), please write to info@scegliauto.com
Number of seconds to generate the page: 0.116
(c) ScegliAuto 2026 - info@scegliauto.com - Privacy policy VAT number: IT01247470535 |
