
|
Do it yourself
| |||
| ||||


Replacement of the motor mount of the Mazda CX 7 (and also CX5 and CX9)
Model: Mazda Cx 7
MK 1
- Years 2006-2012
How to replace the engine mount of a Mazda CX7 (but also CX5 with a 3.6 engine and CX9), which is a crucial component for keeping the engine in place, absorbing vibrations, and preventing them from being transmitted to the cabin. When working with this component, safety is the absolute priority, as it involves heavy components. We will need the new engine mount. We can find it on auto-doc. It with the EAN code 4056111077246 at a price of 44.49 + 9.95 euros for delivery. We raise the car in the front, and place it on two jack stands, then position a hydraulic jack under the oil pan with a wooden base: the goal is not to lift, but to support. We remove the old engine mount, install the new one aligning all the holes, insert and hand tighten all the bolts before tightening them with a torque wrench, apply a drop of blue Loctite on the nuts to prevent loosening, and mark the tightened nuts with a marker, so we can check in the future if they have moved. We remove the jack, the cover, the stands, and lower the car.
Posted on 20 November 2025 by ScegliAuto
Video tutorial
Related tutorials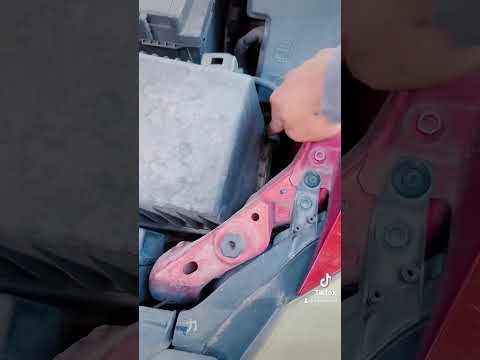
Mazda Cx 7
(2006-2012 /
MK 1)
If the engine air filter in your 2007 Mazda Cx 7 is now excessively worn and you want to replace it yourself, then all you have to do is follow these…

Mazda Cx 7
(2006-2012 /
MK 1)
Today we will see the instructions that will allow us to disassemble and replace the timing chain of the Mazda CX-7. In order to access the timing ch…
Mazda Cx 7
(2006-2012 /
MK 1)
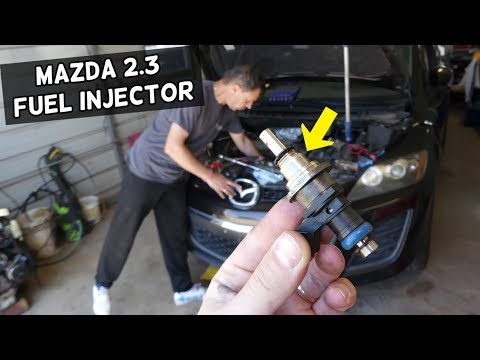
In order to replace the injectors of the Mazda CX-7, you need to open the hood so that you have access to the components located inside the engine co…
Other guides you may be interested in
|
Installation of Upgraded Intercooler Radiator with Pipes
Lift the vehicle on suitable axle stands, remove the front wheels, and then the front bumper and grille. Proceed to remove the front headlights; drain the coolant, remove the intercooler radiator and the hoses connecting it to the intake system. Position the new intercooler radiator in the grille, temporarily securing it with cable ties, and mark with a marker the part of the metal that needs to be removed to allow the new hoses to pass through. Cut the marked portion of metal and apply a gasket to the edge. Remove the inner cover of the bumper and position it near the radiator to identify any interfering parts to eliminate: again, apply a gasket to the edge of the cut. Create brackets for securing the new radiator and proceed with the installation of the connecting pipes from the radiator to the intake, shaping and connecting them appropriately. Finally, reassemble the bumper, headlights, and grille. by ScegliAuto More videos
|

|
For advertising on this site Write to info@scegliauto.com
ScegliAuto is not responsible for any inaccuracy of the data in the lists. To report any inaccuracy or your business (if you own the business in question), please write to info@scegliauto.com
Number of seconds to generate the page: 0.058
(c) ScegliAuto 2026 - info@scegliauto.com - Privacy policy VAT number: IT01247470535 |