
|
Do it yourself
| |||
| ||||


Replacement of Car Radio and LCD Display
Model: Mazda 3
BK, MK 1
- Years 2003-2009
Using a plastic tool to avoid damaging the bodywork, lever around the display trim to release the plastic clips in order to access the retaining screws of the radio console. Disconnect the various connectors and remove the car radio. Remove the old additional wiring and install the wiring supplied with the new radio, paying attention to the references. Connect the adapter to the antenna cable with the new connector. Reconnect the cables to the radio by inserting the respective connectors and carefully place the radio into its slot, ensuring not to pinch the cables until it is secured. Turn on the radio to check its functionality.
Updated on 8 February 2026 by ScegliAuto
Video tutorial
Related tutorials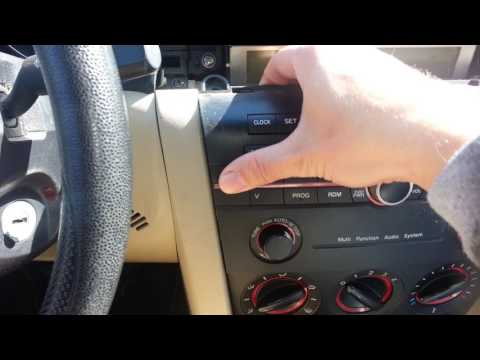
Mazda 3
(2003-2009 /
BK, MK 1)
Follow these instructions to remove the original radio from a first-generation Mazda 3. First, get inside the car and remove the trim above the radio…
Mazda 3
(2009-2013 /
MK 2, BL)
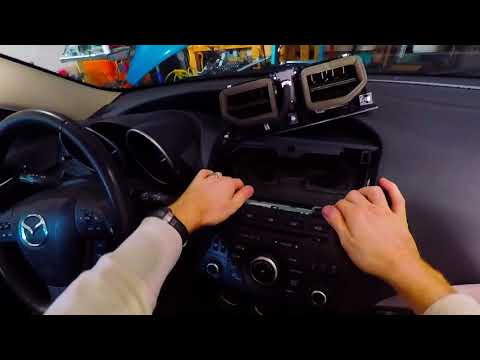
Let's see how to proceed to disassemble the radio of the Mazda 3, in case we want to replace it with a model with better audio characteristics. Using…
Mazda 3
(2009-2013 /
MK 2, BL)
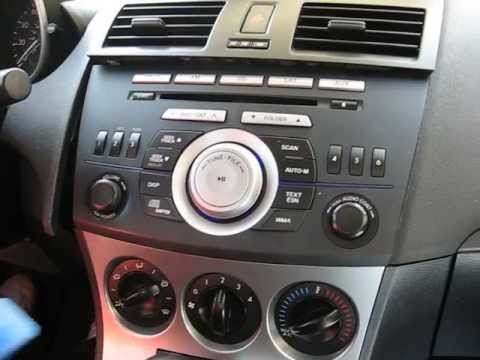
Using a plastic tool to avoid damaging the bodywork, lever out the air vent from the dashboard and remove it from its housing. Remove the lower panel…
Other guides you may be interested in
|
How to Bleed the Clutch on a Renault Clio?
To bleed the clutch on a Renault Clio, open the bonnet to access the components located in the engine bay: here, you will need to undo the screws that secure the battery in its housing, the intake manifold, and the coolant reservoir. This will allow you to locate the pipe through which the brake fluid flows: by inserting the other end of the pipe into a container, you can press the clutch pedal to expel all the fluid until it fills the container. by ScegliAuto More videos
|
|
For advertising on this site Write to info@scegliauto.com
ScegliAuto is not responsible for any inaccuracy of the data in the lists. To report any inaccuracy or your business (if you own the business in question), please write to info@scegliauto.com
Number of seconds to generate the page: 0.077
(c) ScegliAuto 2026 - info@scegliauto.com - Privacy policy VAT number: IT01247470535 |
