
|
Do it yourself
| |||
| ||||


Replacing Front Brake Pads
Model: Mazda Mx 5
NB, MK 2
- Years 1998-2005
When replacing the front brake pads, first open the bonnet and unscrew or remove the cap from the brake fluid reservoir. Loosen the wheel nuts. Now lift the car with a hydraulic jack or a lift so that both front wheels are raised, allowing you to replace the pads on the driver and passenger sides in turn. Once the wheel is removed, unscrew only the lower bolt of the brake caliper. The upper bolt should only be loosened to allow you to rotate the brake caliper upwards. Extract the pads, keeping in mind their original position for when you need to insert the new ones. If possible, refer to a workshop manual for your car model. In this case, as with other models, there is an anti-vibration spring that the installed pads lack. It is advisable to install the springs to achieve better braking and prolong the life of the pads themselves. Using a clamp, push the caliper pistons back to make it easier to insert the new pads. Use a specific spray product to clean the components before reinserting the new ones. You can use special brake pad grease to make them quieter, although not everyone agrees on using it. Once the pads are inserted, refit the caliper and tighten the fixing bolt. Now proceed to replace the pads on the other wheel.
Updated on 9 February 2026 by ScegliAuto
Video tutorial
Related tutorials
Mazda Mx 5
(1998-2005 /
NB, MK 2)
Lift the vehicle with a jack and apply axle stands to securely support it during the repair. Remove the front wheel (loosen the bolts before lifting)…
Mazda Mx 5
(2005-2015 /
MK 3, NC)
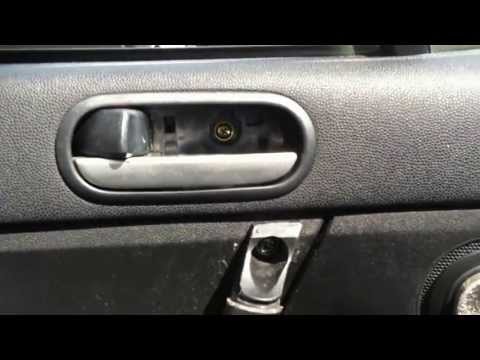
Lower the door window and remove the screw located in the handle opening area. Unscrew the various screws located on the sides. Use a plastic tool to…

Mazda Mx 5
(2005-2015 /
MK 3, NC)
In this tutorial we can see how to disassemble the passenger seat in the Mazda MX-5, an extremely simple and quick operation. First of all, make sure…
Other guides you may be interested in
|
How to reset the tyre pressure warning light on the Suzuki Jimny?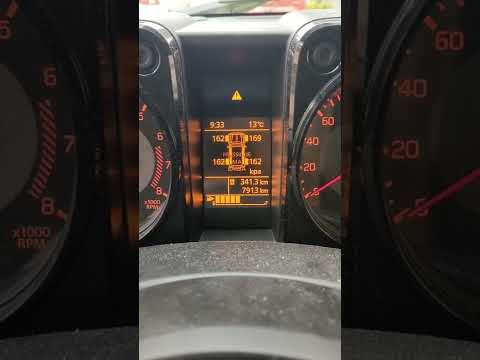
To reset the tyre pressure warning light on the Suzuki Jimny, first inflate the tyres to the pressure value indicated on the corresponding sticker: this is located at the bottom of the driver's door pillar. Once the tyres are inflated, insert the ignition key and turn on the instrument panel: select the screen that indicates the tyre pressures, checking that the values change. After a few seconds, the tyre pressure warning light will automatically turn off. by ScegliAuto More videos
|
|
For advertising on this site Write to info@scegliauto.com
ScegliAuto is not responsible for any inaccuracy of the data in the lists. To report any inaccuracy or your business (if you own the business in question), please write to info@scegliauto.com
Number of seconds to generate the page: 0.465
(c) ScegliAuto 2026 - info@scegliauto.com - Privacy policy VAT number: IT01247470535 |
